The first days with your baby fly by. You want to capture every detail: their tiny hands, soft skin, those little faces they make while sleeping. But when you look at the photos on your phone, something’s missing. They don’t capture what you feel.
You have hundreds of photos in your camera roll, but none that really capture your newborn’s essence. The photos come out blurry, badly lit, or just boring. And meanwhile, your little one grows every day.
In this guide I share professional tricks so you can take newborn photos at home that are really worth it. No expensive equipment, no stress, just you and your little one.
“A session with your baby should always be a joy, not pressure.”
— Tami (Wonderstory)
This article is for parents who want to document their baby’s first days at home. It doesn’t replace a professional session, but it will help you get beautiful photos with what you already have. And if you’re looking for original newborn gifts, a photo session can be a lovely idea.
When is the best time to photograph your newborn
Timing is everything in newborn photography. Babies change very quickly, and there’s an optimal window to get those typical newborn photos.
The golden window: days 6 to 15
The first 15 days are ideal for photographing your baby. At this stage, the baby sleeps more deeply, can be positioned easily, and has that soft, wrinkly skin so characteristic of newborns.
According to experts in safe newborn photography, newborn photography is ideally done between 6 and 15 days of life. After two weeks, the baby is more alert and active, which offers different photo opportunities but makes it harder to get sleeping poses.
The best time of day
Mornings usually work well because the natural light is optimal and the baby tends to be calmer. Also, after feeding is the perfect time for newborn photos at home.
“To capture their smile, wait until after feeding and before sleeping because that’s when they tend to smile unconsciously.”
— Tami (Wonderstory)
No pressure: the baby sets the pace
Don’t obsess about doing the session on a specific day. Your baby is in charge. If they need to eat, change their diaper, or just be held, take a break. The best photos happen when the baby is comfortable.
“Come when you feel ready. No rush. The session has to be a beautiful moment, not an obligation.”
— Tami (Wonderstory)
Patience is your best ally. If today isn’t the day, tomorrow will be.

How to use natural light for baby photos at home
Light is the secret ingredient of any good photo. And the best part is that natural light is free and in your home.
Find the perfect window
Place the baby near a large window. Soft side lighting, coming in at about 45 degrees, is the most flattering. Avoid direct sunlight because it creates harsh shadows and can bother the baby.
If the light is too strong, use thin curtains to diffuse it. A white sheet hung on the window also works.
“Natural light makes photos more honest and authentic.”
— Tami (Wonderstory)
The direction of light matters
Place the baby with their head toward the light. The lighting should come from above their head, never from below. Experts in newborn photography recommend soft, side lighting to get that professional effect.
Notice how the soft side light gently illuminates the baby’s face, creating depth without harsh shadows.
Common mistakes with light
Avoid these mistakes when taking newborn photos at home:
- Direct flash: never use it. The baby’s eyes are very sensitive and it also flattens the image
- Strong backlighting: if the light comes from behind the baby, you’ll lose details in their face
- Mixing natural and artificial light: produces strange colors in the photo
Phone portrait mode
Portrait mode on current phones automatically blurs the background and focuses on the baby. It works surprisingly well when you have good natural light. Try it.
How to pose a newborn baby safely at home
Safety comes before any photo. This is the most important point in the entire guide.
The golden rule
Many of the baby photos you see on Pinterest or Instagram are Photoshop composites. The photographer combines several images to create poses that would be impossible or dangerous in reality. Don’t try to replicate professional poses you don’t know how they were done.
Natural and safe poses
The good news is that tiny babies can be positioned easily.
“The good thing about the baby being so tiny is they’re like clay and easy to position.”
— Tami (Wonderstory)
These poses are safe and give good results:
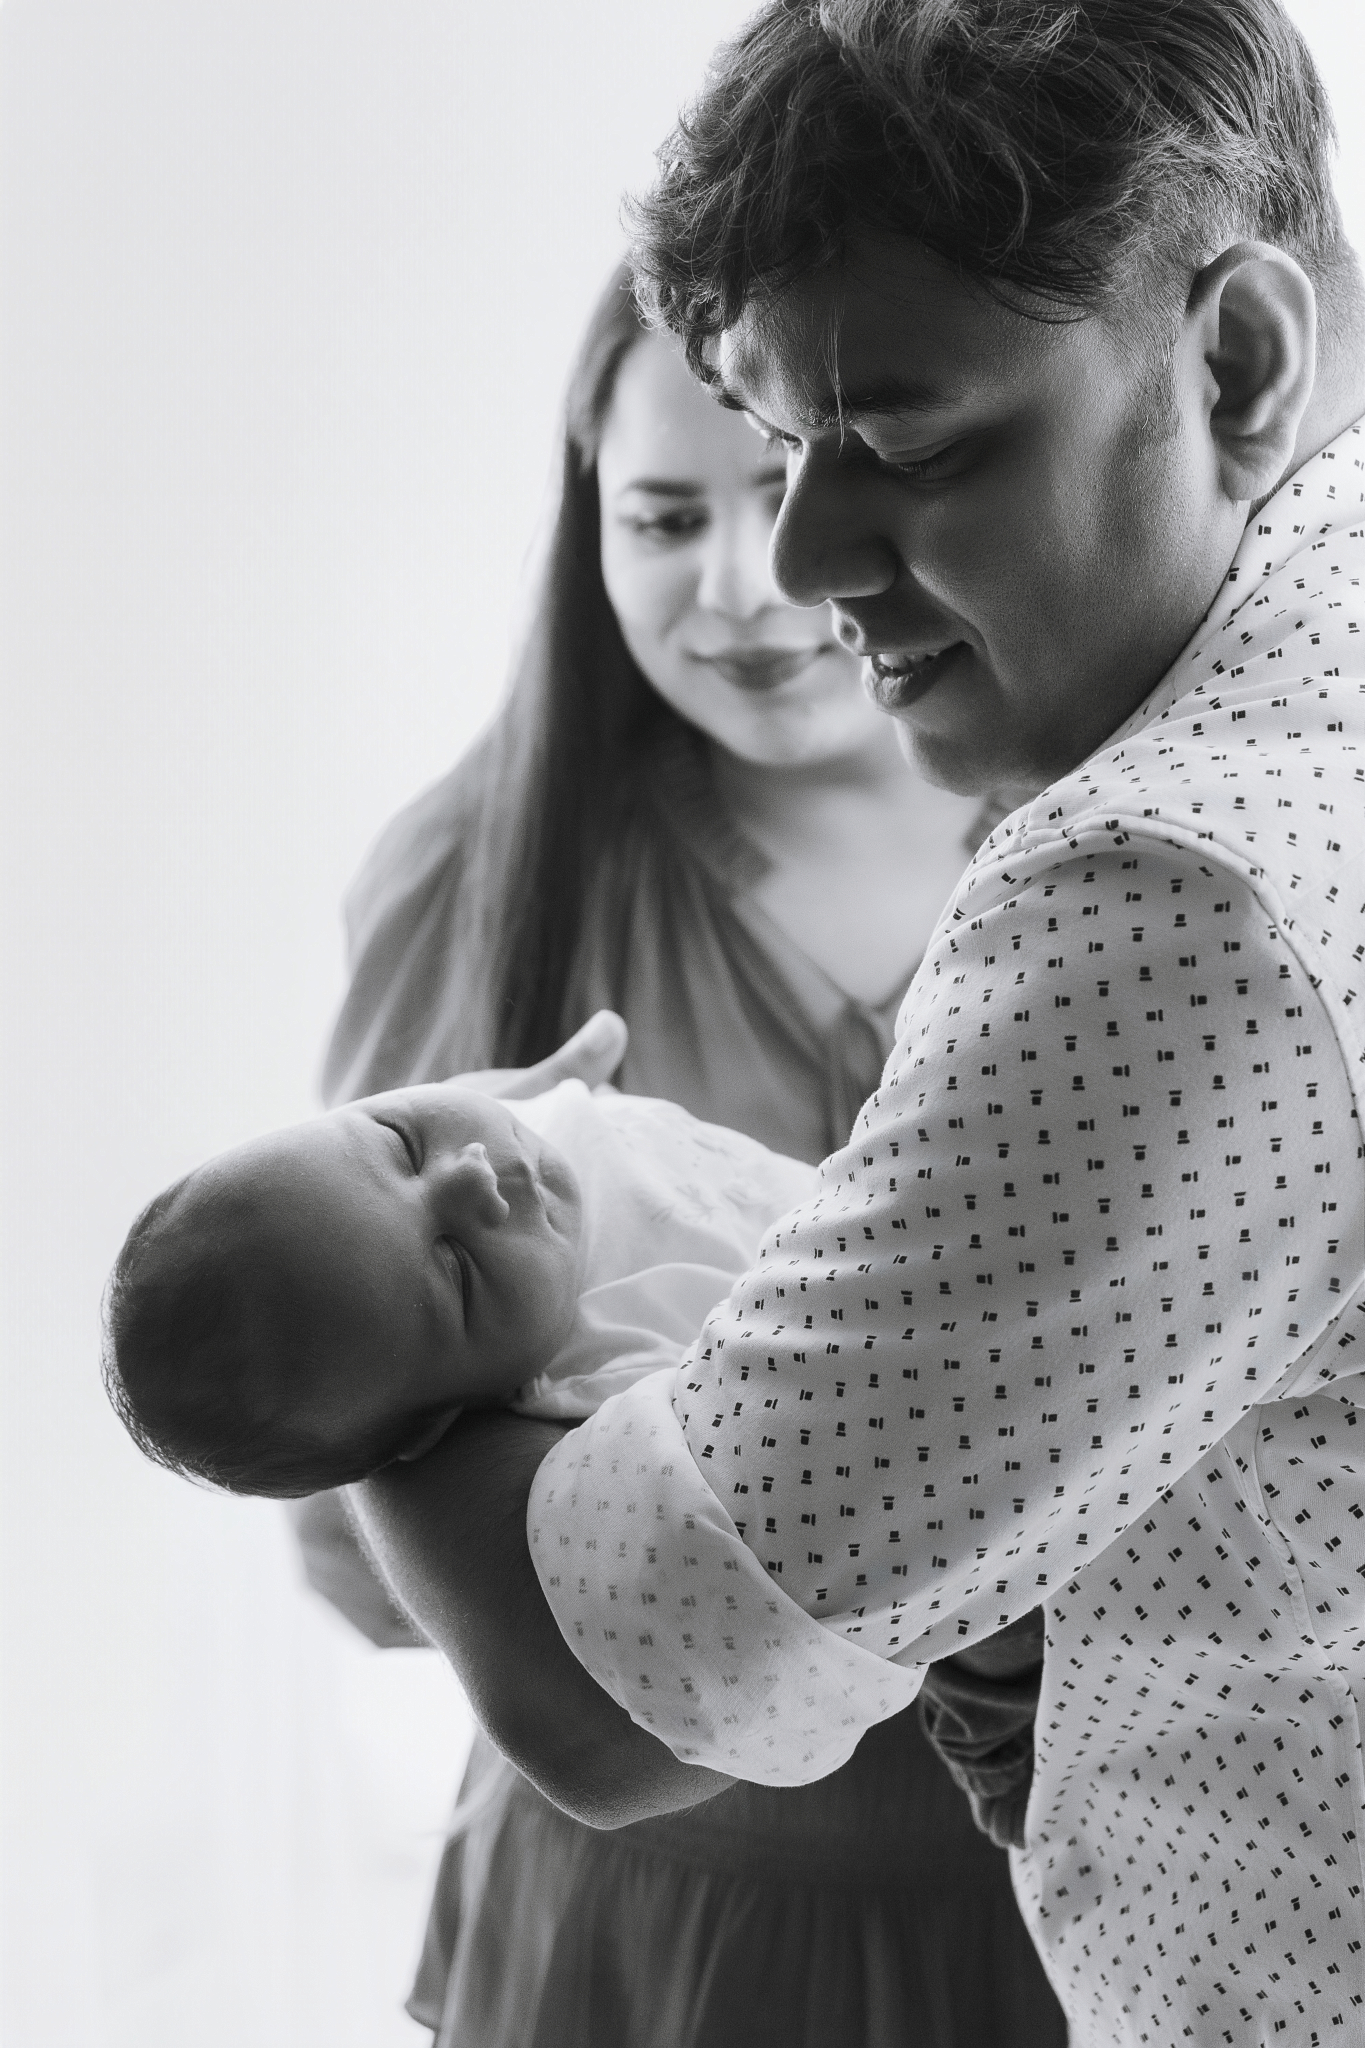
- On their back in the crib or on a blanket: classic, safe, and lets you capture their face
- In mom or dad’s arms: shows emotional connection and is totally safe
- On father’s shoulder: offers a beautiful perspective of the baby
- Lying on their side on a soft blanket: allows different angles
If you want to see examples of newborn photos with their parents, you’ll find inspiration for safe family poses.
Poses where both parents surround the baby show authentic family connection and are totally safe.
Tricks for natural poses
- Wrap them with a muslin and then uncover gently: they’ll stretch naturally
- When they close their eyes and are relaxed, their little hands tend to go near their ear
- Skin-to-skin creates intimate moments and beautiful photos
What to always avoid
- Poses that require holding the baby’s head without support
- Leaving the baby alone on high surfaces, not even for a second
- Forcing postures that aren’t natural for the baby
Newborn care always includes protecting their head and neck.
Temperature and comfort
Keep the room warm, between 24 and 26 degrees, so the baby is comfortable. If you take photos with the baby naked, keep sessions short. An uncomfortable baby means bad photos and unnecessary stress for everyone.
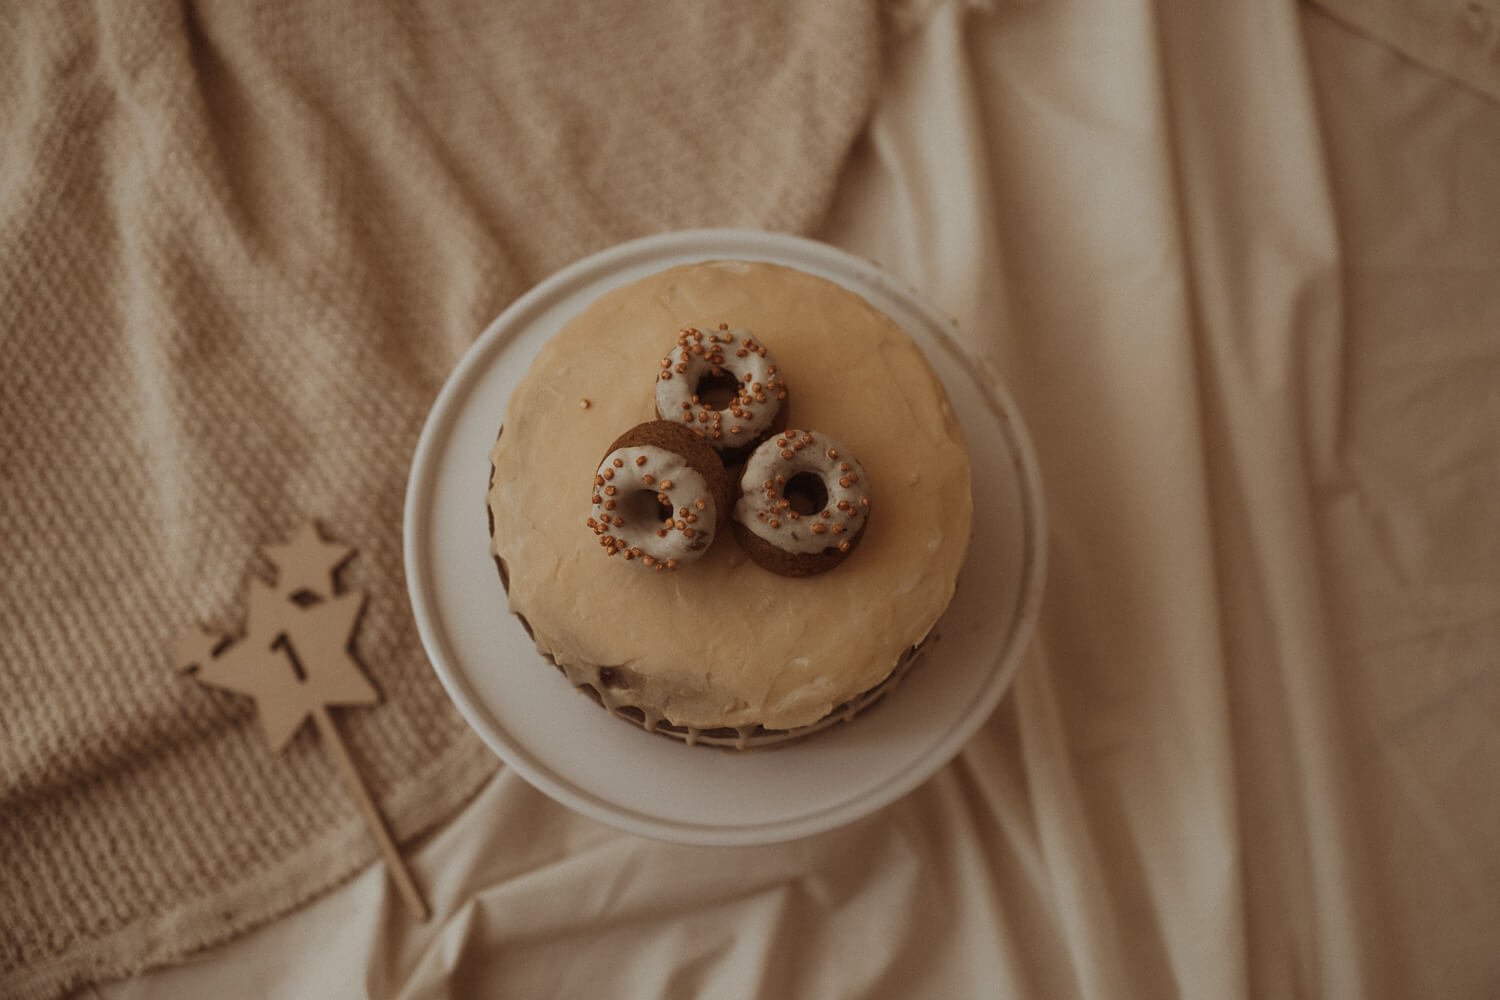
What clothing and accessories to use for home baby photos
The secret is in minimalism. Less is more.
The power of simplicity
“Being minimalist with clothing and decoration is key. Put one important object to highlight something.”
— Tami (Wonderstory)
A stuffed animal next to the baby shows the size difference and will be a lovely memory when they grow. A single background color, preferably light and neutral, makes the baby the star.

The stuffed animal next to the baby shows their small size, while the neutral background keeps the focus on what matters.
Clothing that works
For the baby:
- Natural materials like cotton or muslins
- No loud patterns that distract attention
- Off-white better than pure white, which reflects too much light
- Neutral colors: soft blues, greens, mustard
For mom, if she’s in the photos:
- Comfortable clothes in neutral tones
- Jeans unbuttoned if you’re not comfortable yet with pre-pregnancy clothes
Naked baby photos
Naked baby photos capture the little wrinkles of their skin, their rolls, and that fragility so characteristic of the first days. Use soft blankets as background and keep sessions short so they don’t get cold. A newborn photo at home with the baby naked can give lovely results.
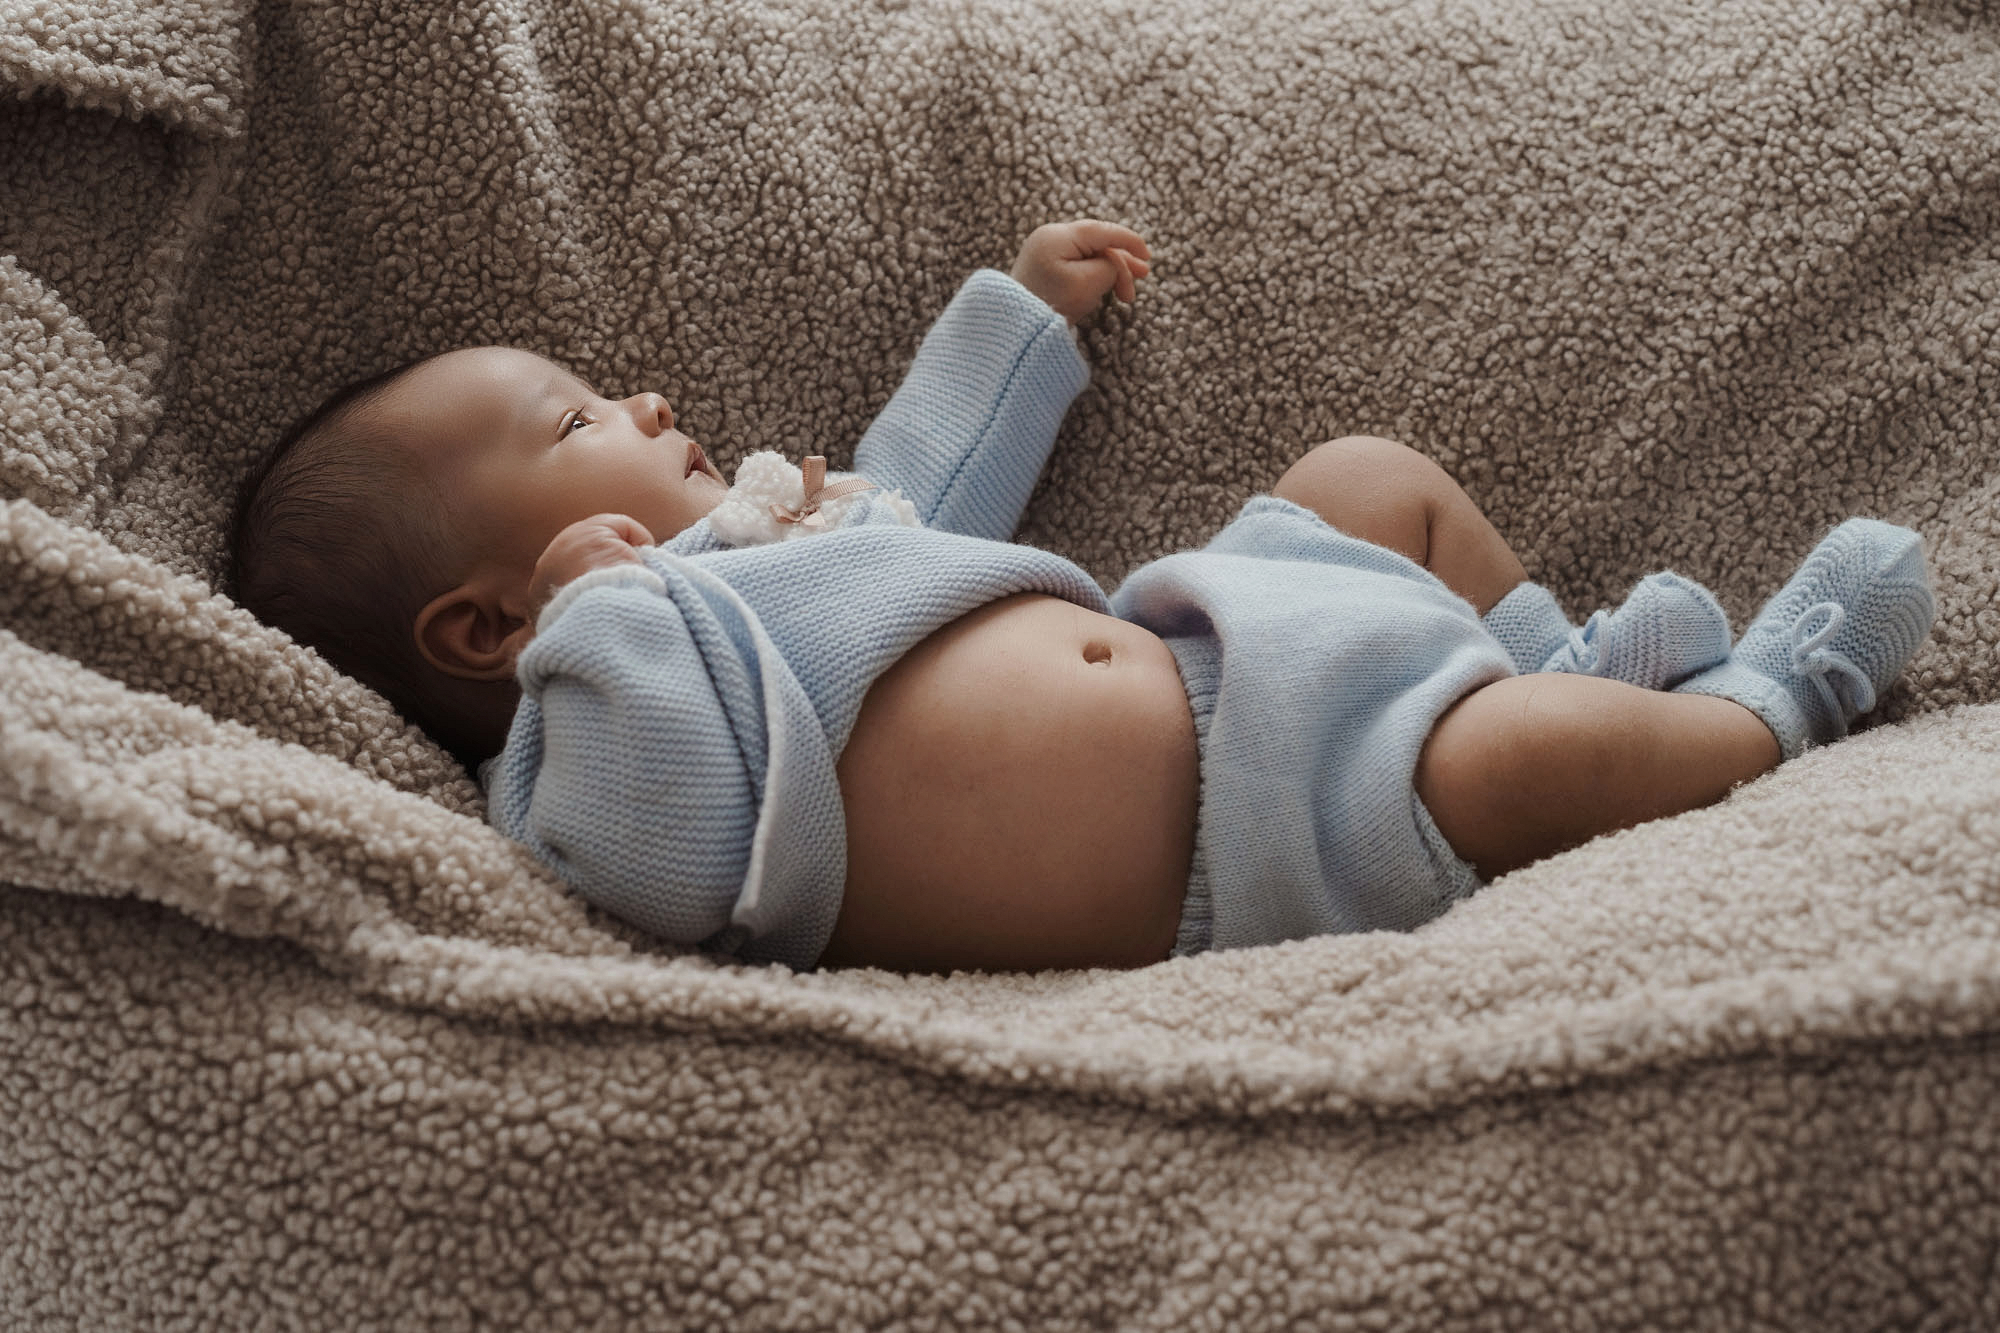
A textured blanket and neutral tones create a perfect background that highlights the baby’s soft skin.
The ideal background
- Plain sheets in a single color work very well
- Knit blankets add beautiful texture
- Avoid backgrounds with many elements that distract
- The star is the baby, not the decoration
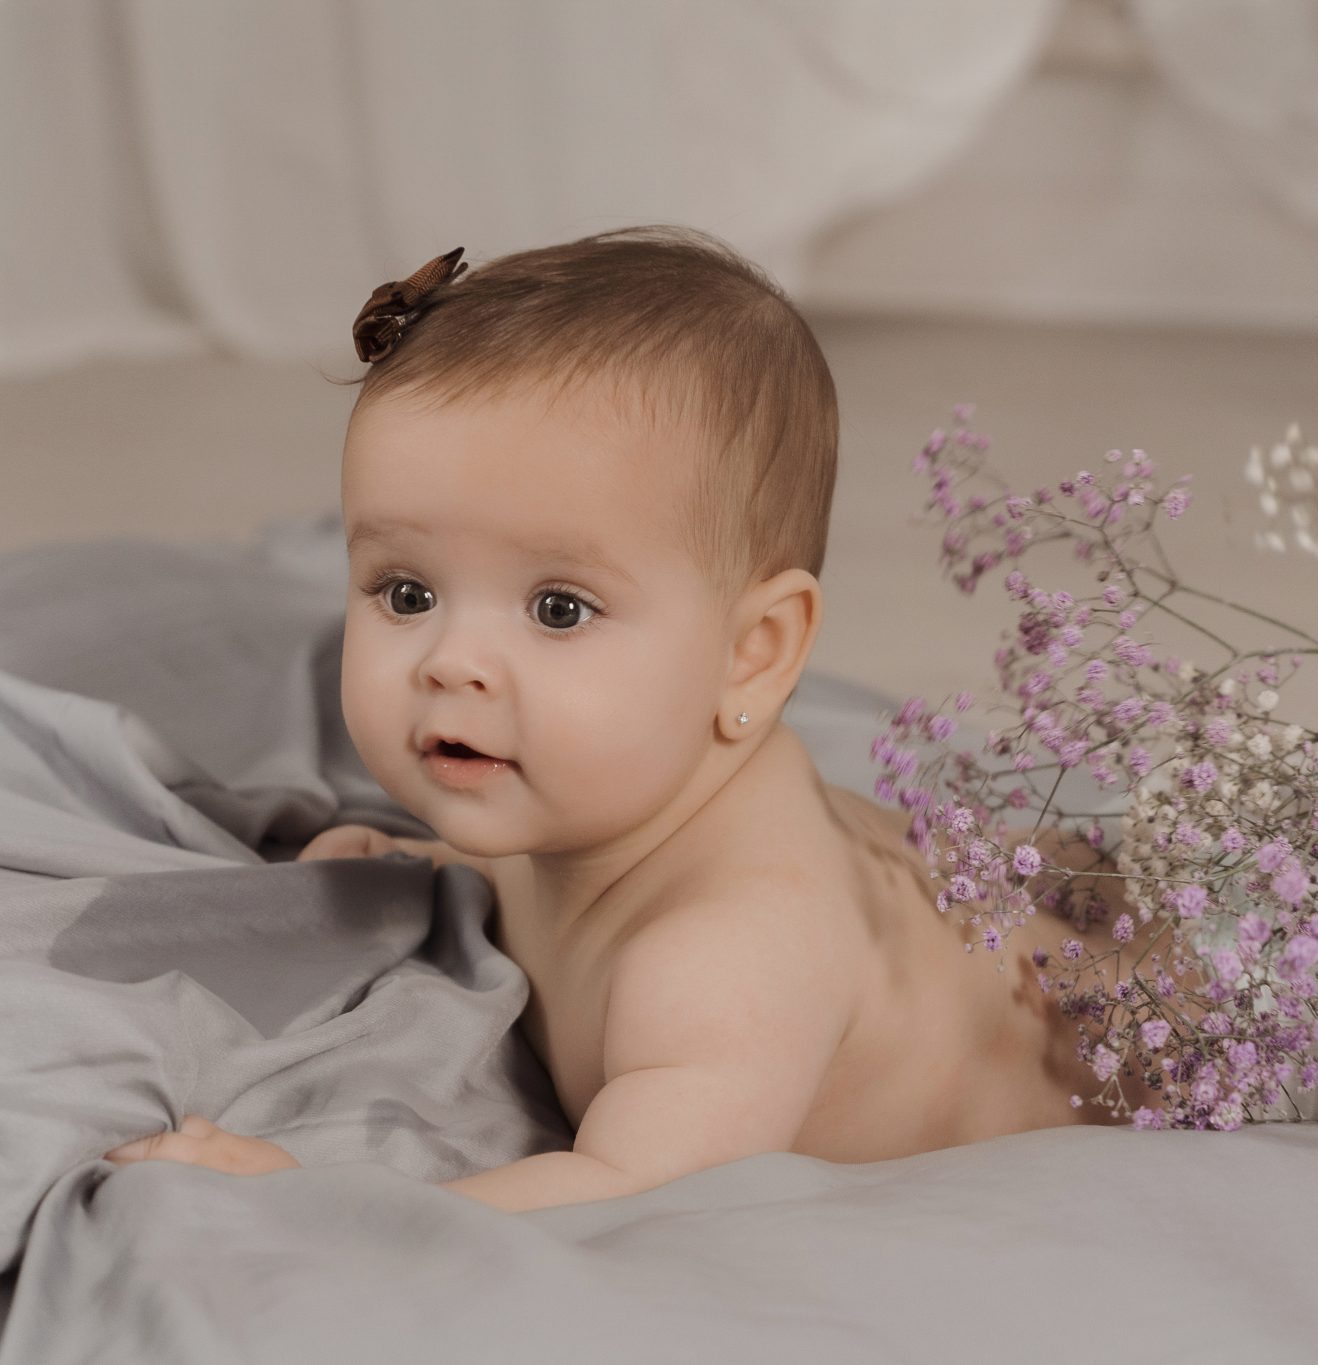
Capture the small details of your newborn
Details are what make your photos unique. They’re also what changes fastest.
Get close without fear
The hands, feet, eyes, skin, hair. Those tiny details disappear in weeks. The little wrinkles, the fuzz, the tiny nails. Use your phone’s optical zoom if it has one. Avoid digital zoom because it loses quality.
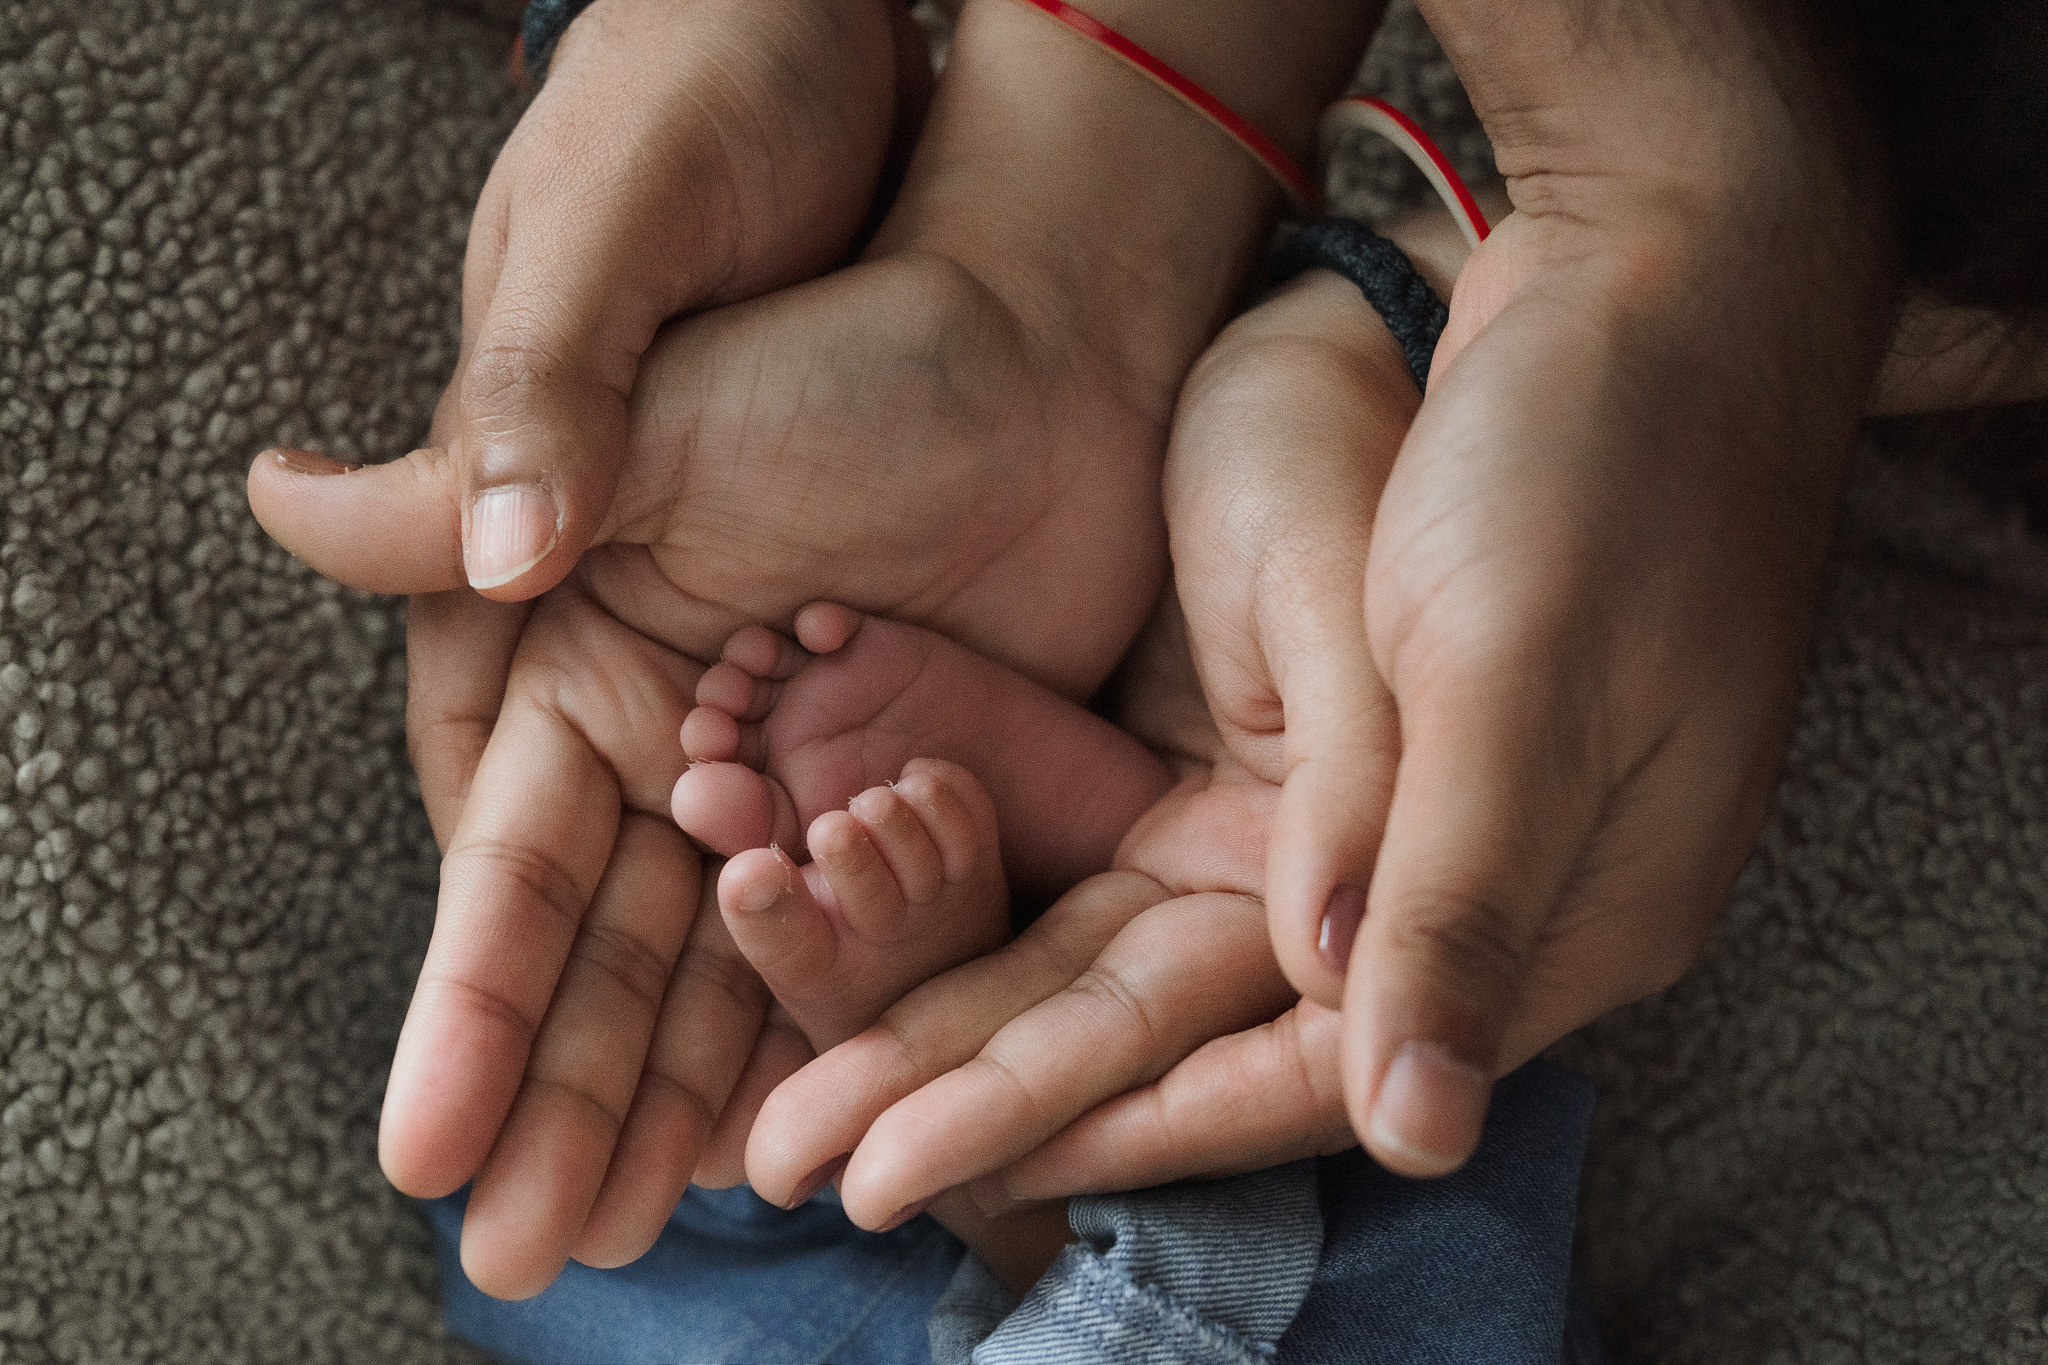
Details like these tiny feet in mom and dad’s hands show the scale and fragility of the first days.
Different angles
Experiment with different perspectives in your newborn photos at home:
- From above: stand on the sofa and shoot downward
- From below: sit on the floor next to the crib
- Wide shot: show the whole room or complete crib
- Detail shot: just their little hands holding your finger, or their feet together
Visual storytelling
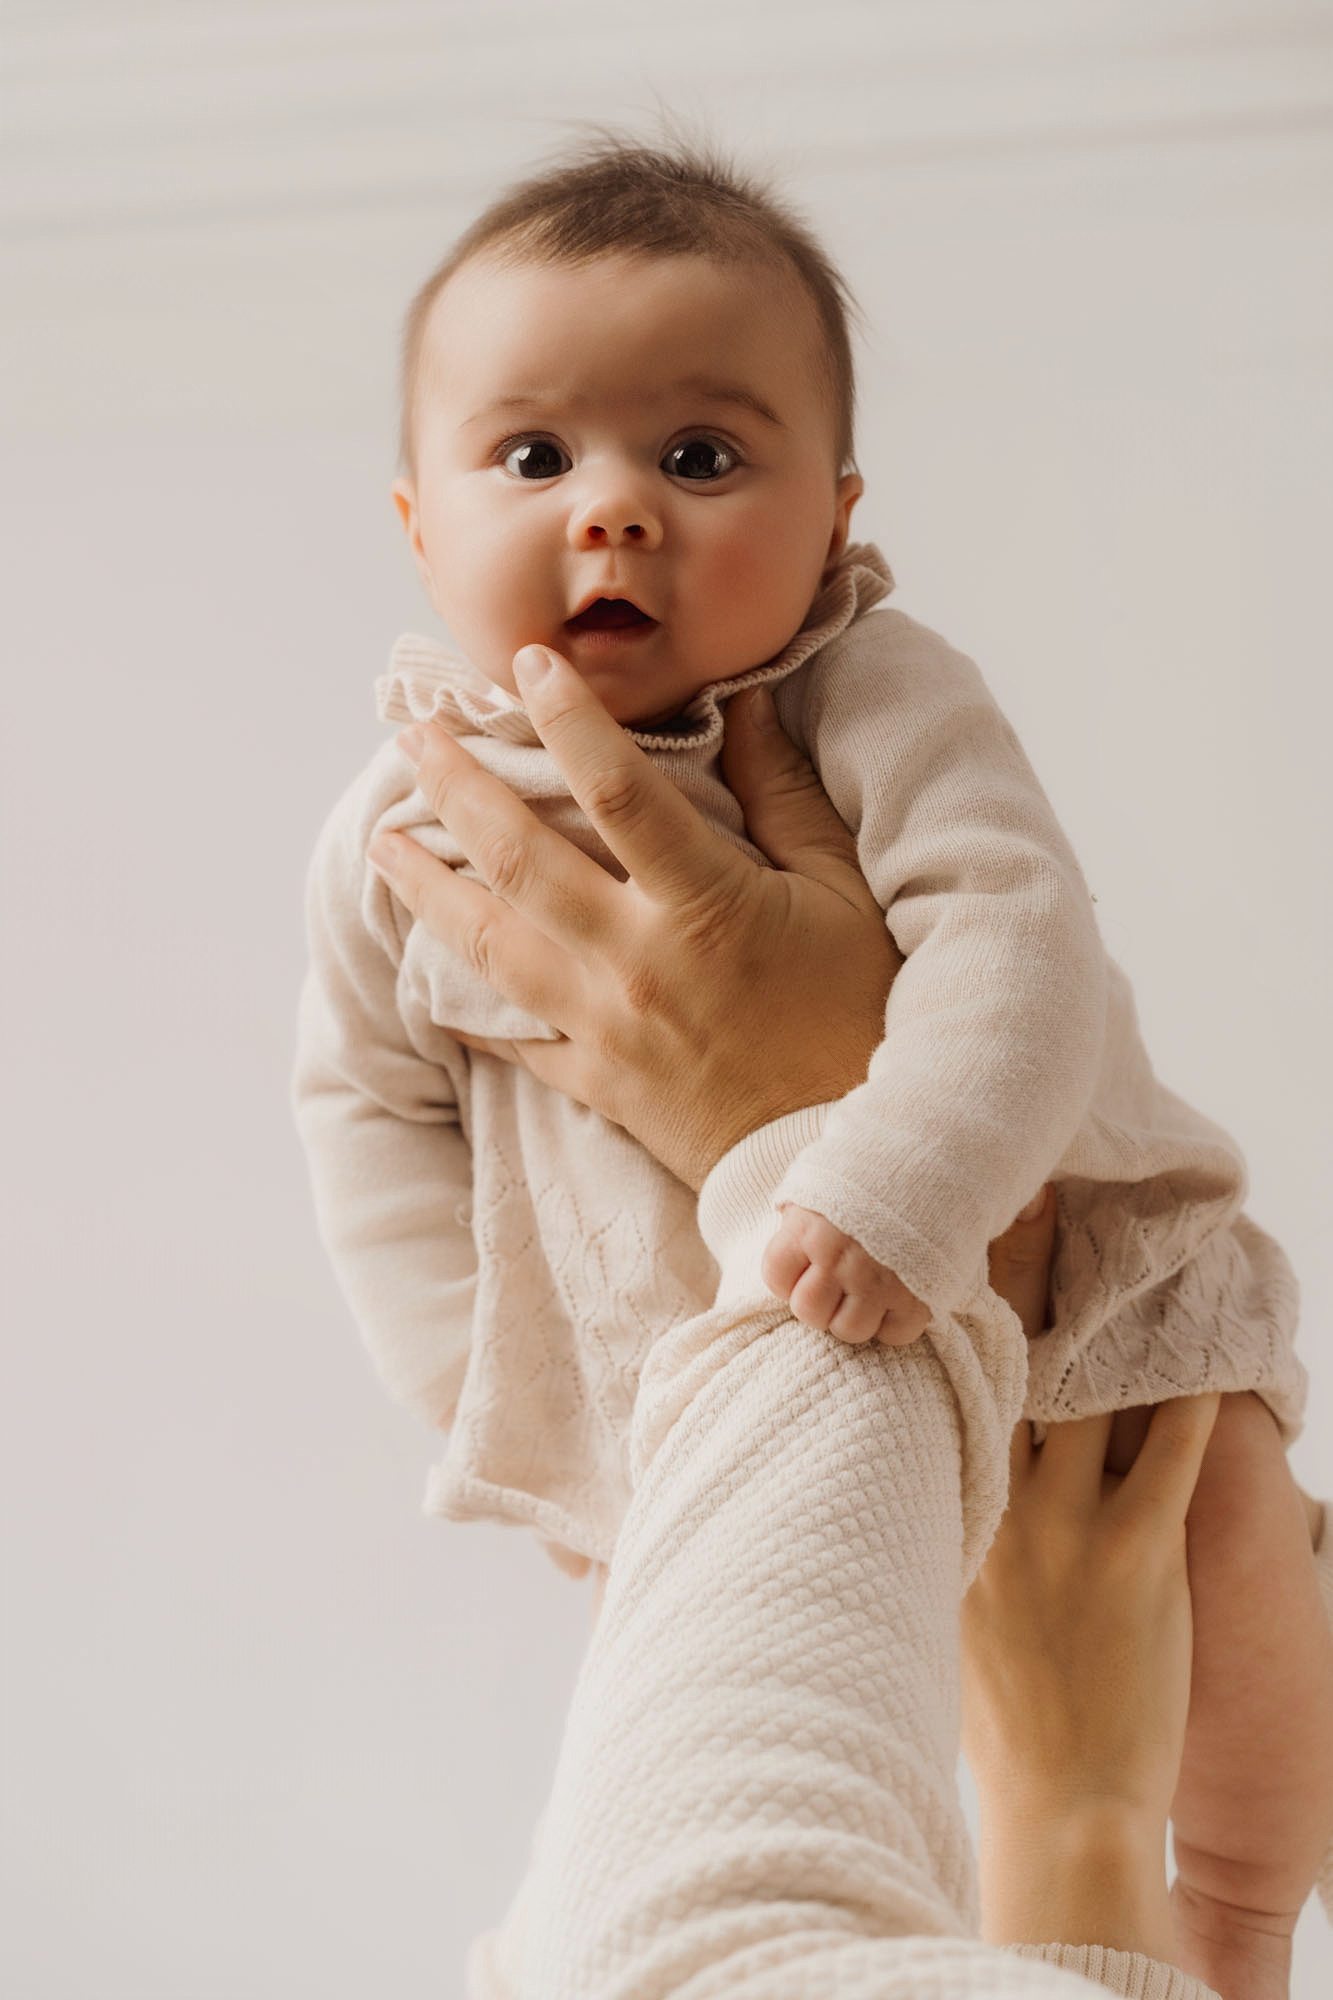
Don’t limit yourself to posed photos. Capture the routine: bath time, breastfeeding, diaper change. These everyday moments will be precious memories. If you have other children or pets, include them. The safest is having them lying next to the baby.

Spontaneous moments like the baby playing with their feet capture personality and authenticity.
Natural interaction is worth more than the perfect pose. If you want to know 5 reasons to take your newborn photos at home, you’ll see why this approach works so well.
Shoot a lot, edit later
The baby makes a thousand faces in seconds. A yawn, a reflex smile, a stretch. Use burst mode to not miss anything. Then you’ll have time to select the best ones.
Also capture videos of your newborn baby
Photos are important, but videos capture something that still images can’t.
Why videos are special
“Don’t forget to record. The sounds—the laughter, the babbling, the crying—will fill the videos with emotion.”
— Tami (Wonderstory)
Videos capture movement, sound, real life. In the future, you’ll want to hear those babbles, that crying that now wakes you at night.
Tips for home videos
- Always record in horizontal to watch them properly on TV or computer
- Apply the same light principles as for photos
- Use slow motion for special moments: when they close their eyes, when they yawn
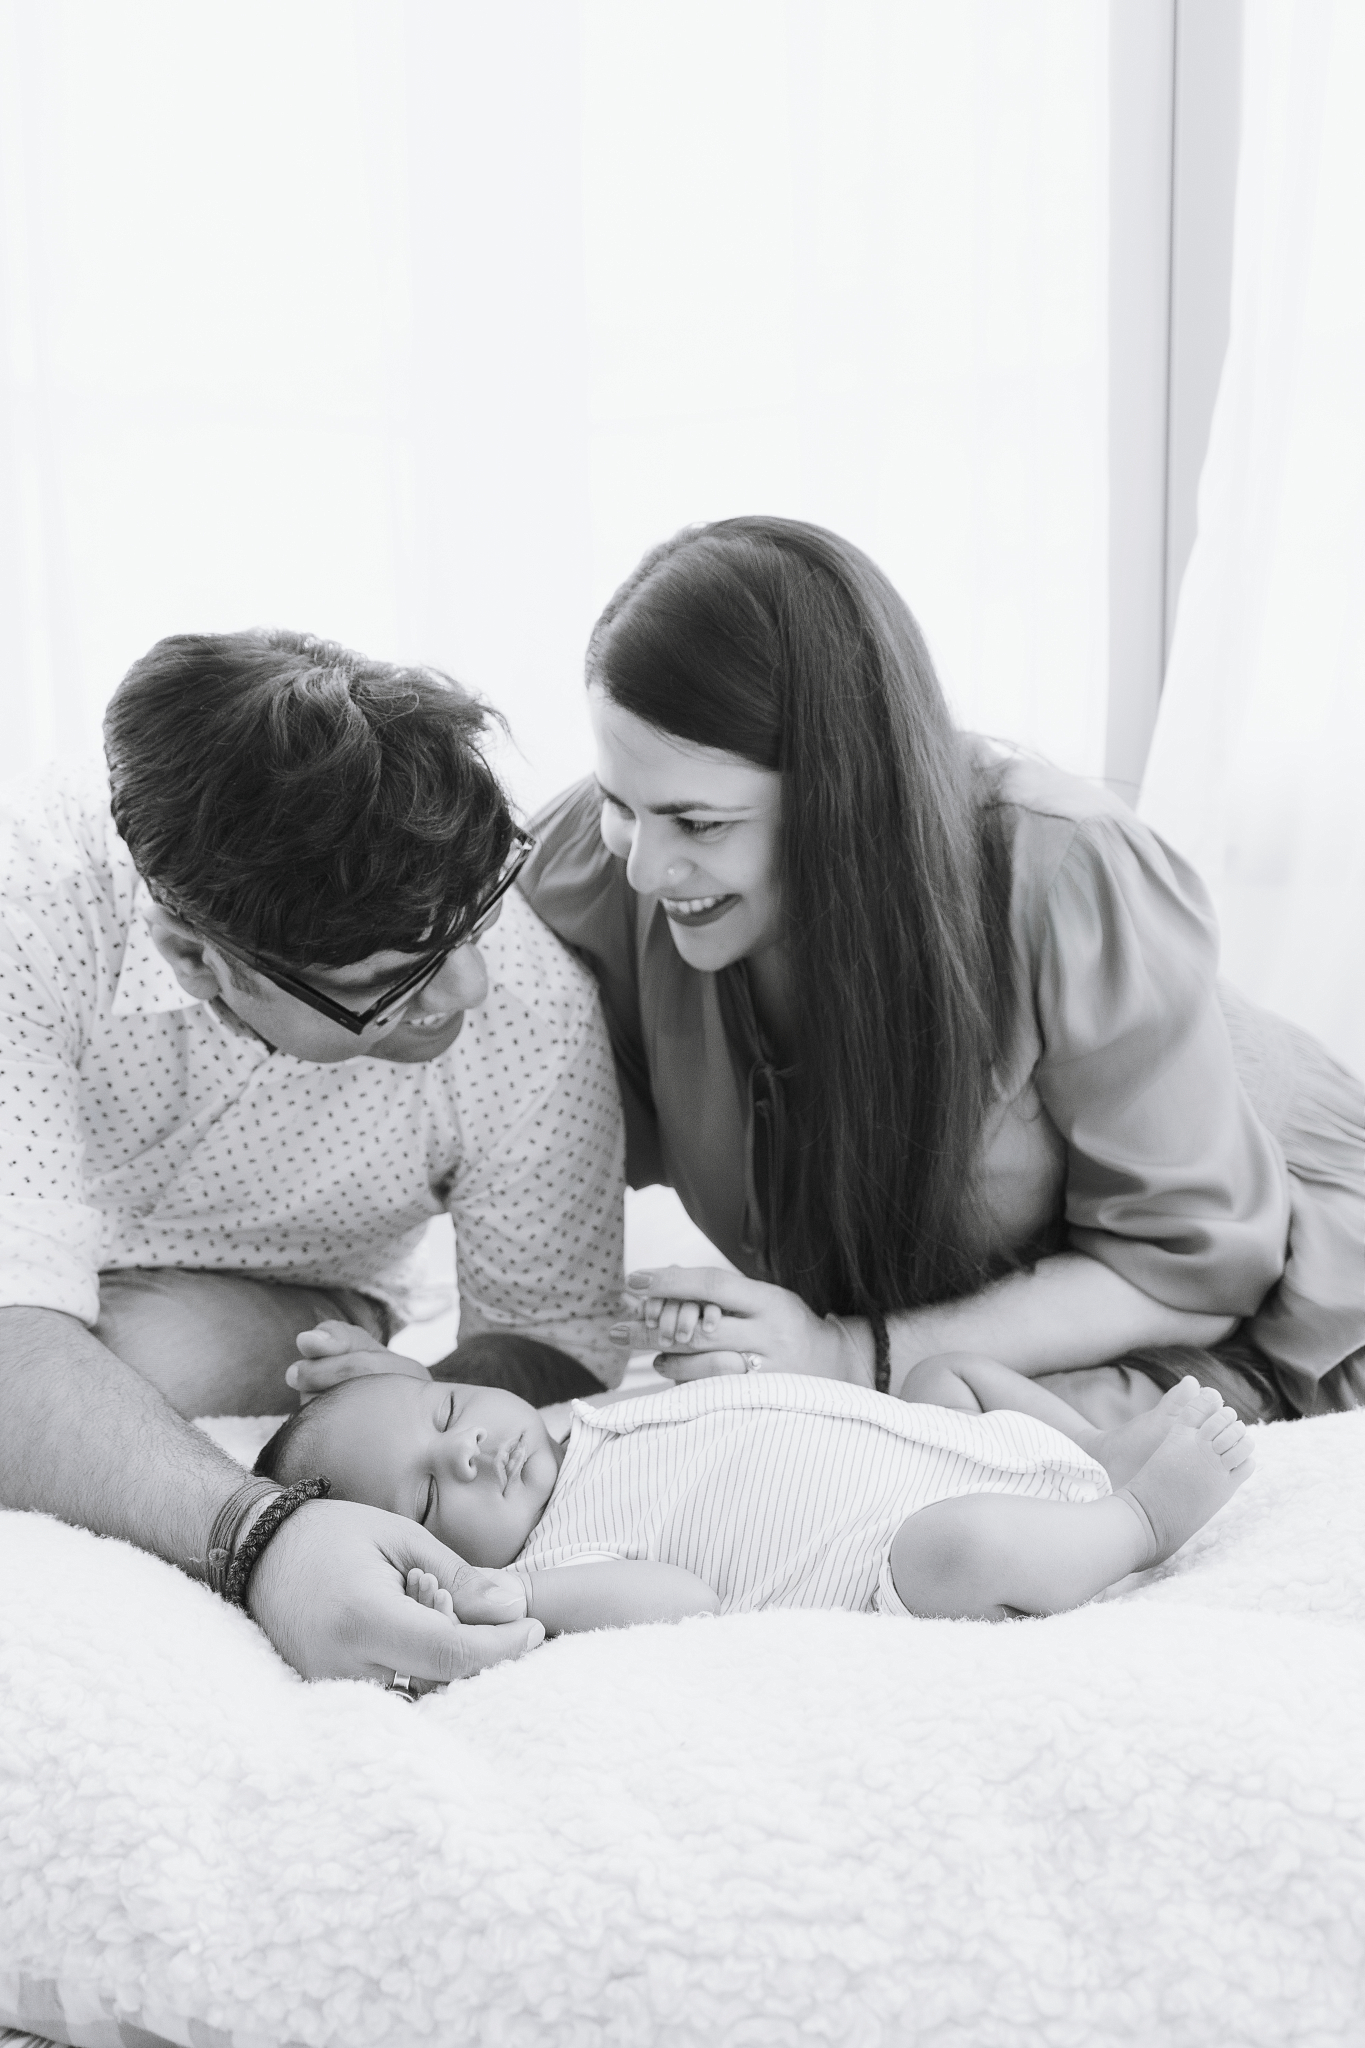
The importance of capturing the baby’s first days also includes everyday moments on video.
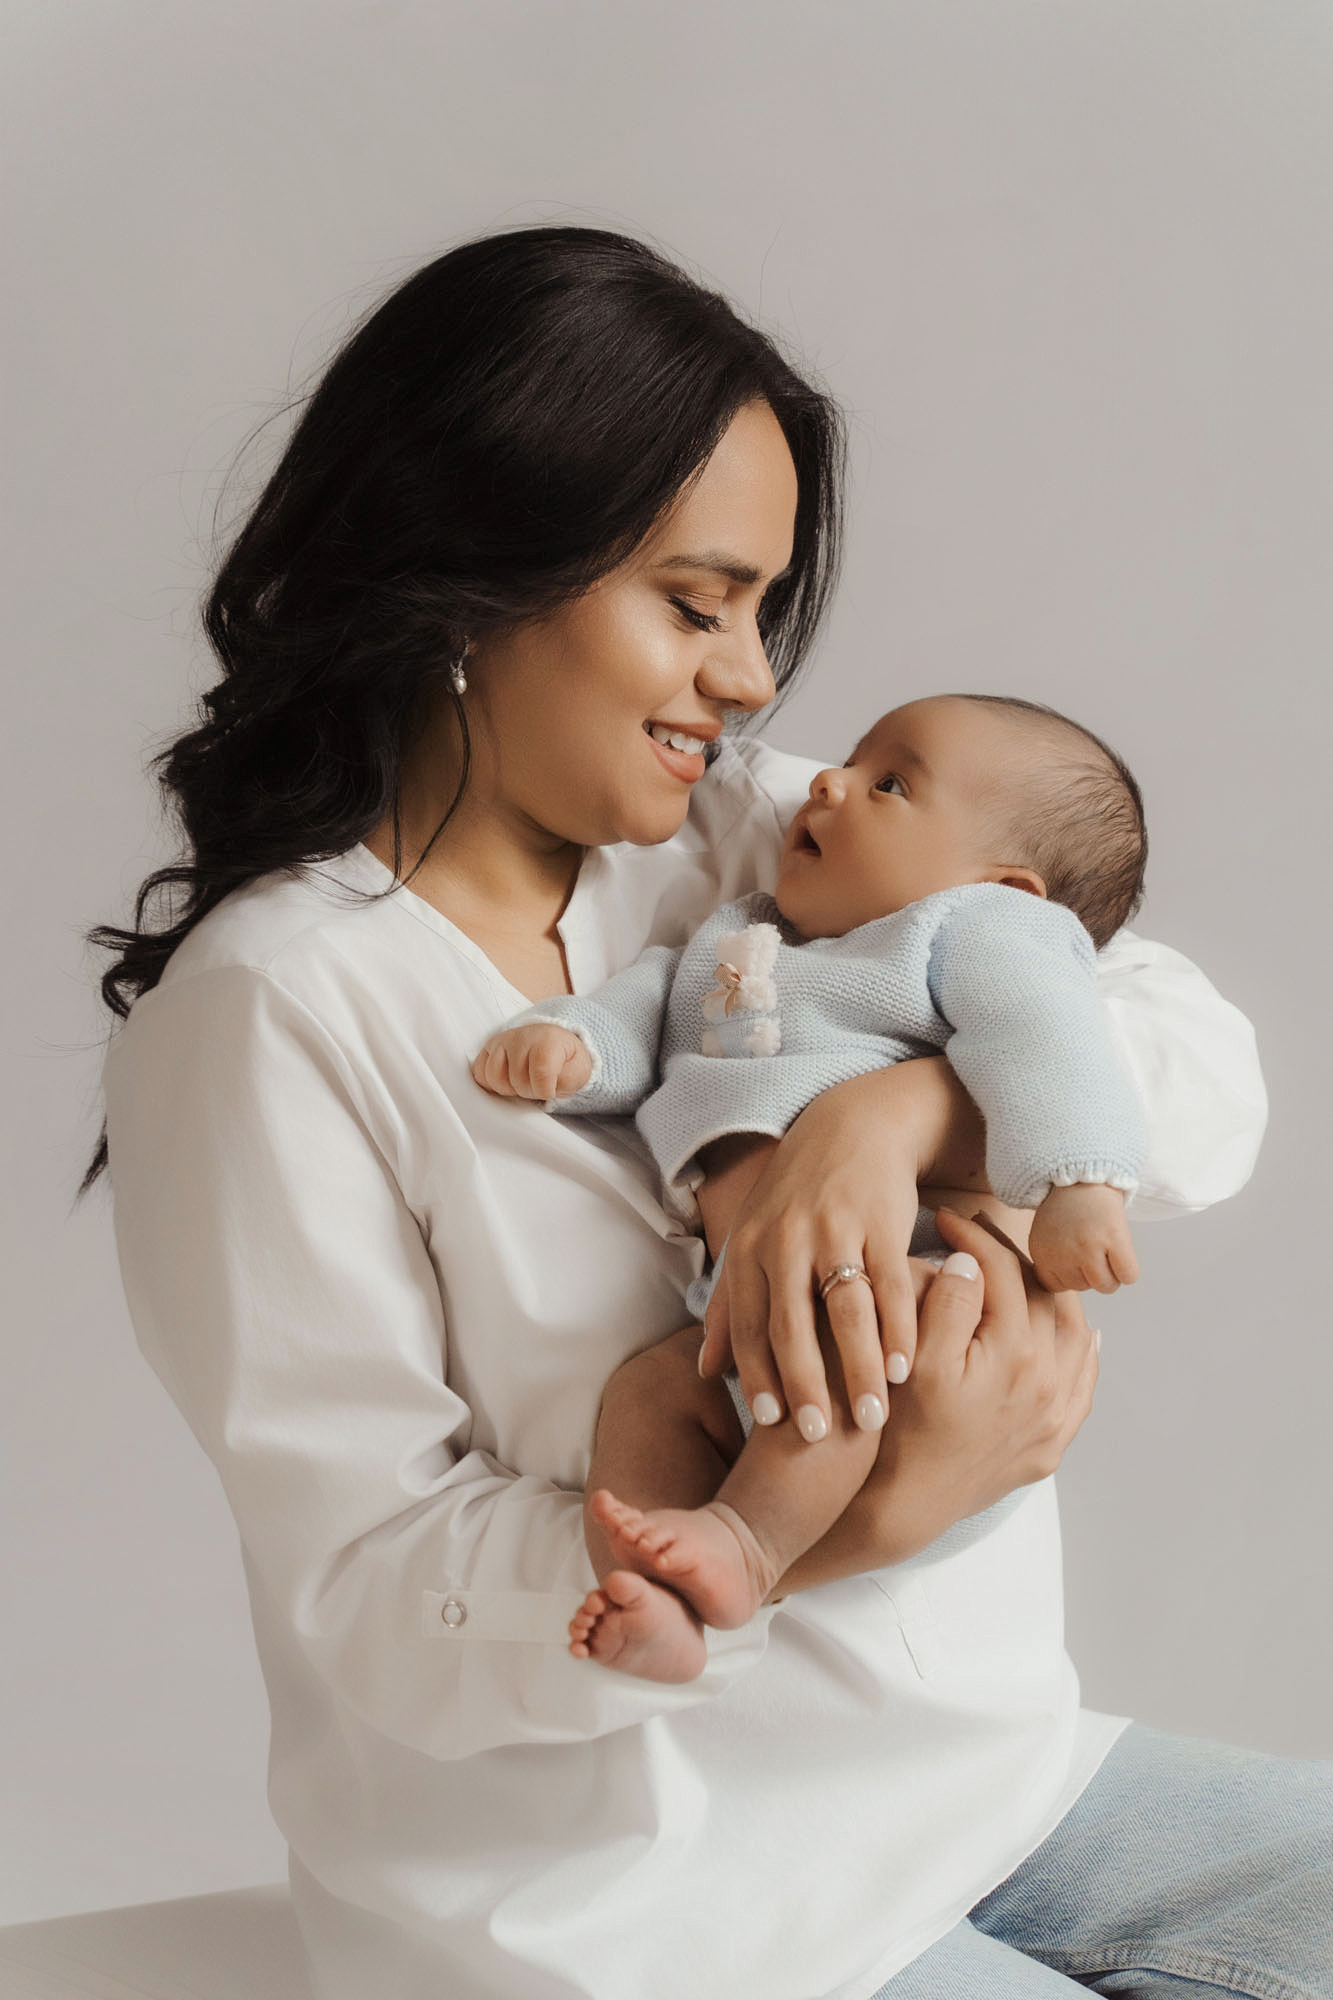
The connection between mom and baby in these first days is irreplaceable. Capture these moments of calm and unconditional love.
What moments to record
- Yawns and stretches
- First smiles, even if they’re reflexes
- Feeding moments if you feel comfortable sharing them
- Interaction with dad, mom, or siblings
Professional lifestyle video sessions
If you want to take your home videos to the next level, there are professional lifestyle video sessions that capture your family’s natural essence at home. Watch this example of a lifestyle newborn session:
These sessions combine the best of both worlds: the comfort and authenticity of your home with professional video capture experience. A professional videographer documents your first days together naturally, without forced poses, creating a cinematic memory that goes far beyond still photos.
Apps and tricks to edit your baby photos
Editing can improve your photos, but with moderation.
Less is more in editing too
Don’t overdo filters. The goal is a natural photo, not artificial. Subtle adjustments to brightness, contrast, and warmth are enough in most cases.
Recommended apps
- Phone portrait mode already does a lot of work automatically
- Snapseed is free and very powerful for basic adjustments
- VSCO or Lightroom mobile for those who want more control
- InShot works well for editing videos
Black and white
Converting a photo to black and white is a classic and timeless resource. Plus, it hides light imperfections and conveys elegance. Try it with some of your favorite photos.
Details like mom’s hands holding the baby’s tiny feet show tenderness and connection.
Home photos vs. professional session: when is it worth it?
Home photos and professional photos don’t compete. They complement each other.
What you can achieve at home
Your home photos capture authentic everyday memories. Spontaneous moments that a photographer wouldn’t see. No time pressure or travel. And you can take them whenever you want, in pajamas if needed.
If you’re preparing for a session, you can check what to bring to a newborn baby photo session.
What a professional offers
A photographer in Barcelona brings:
- Specialized lighting and equipment
- Experience in safe baby handling
- More elaborate poses and compositions
- Polished and artistic result
- Expert direction so everyone looks good
The perfect combination
Your home photos document everyday life. The professional session produces those special photos you’ll want to print large and frame. They’re not exclusive. Many families do both.
If you’re interested in a professional newborn photo session, it’s an investment in memories that will last a lifetime.
Summary: your newborn baby photos at home
Let’s recap the key points:
- The ideal timing is between days 6 and 15, after feeding
- Natural light from a window is your best tool, and it’s free
- Safety always comes first: no risky poses
- Minimalism in clothing and decoration: the star is the baby
- Capture details and videos, not just portraits
You don’t need to be a professional photographer to capture beautiful moments of your baby. With these tips, patience, and lots of love, you’ll have newborn photos at home that will move you every time you look at them.
And when you want those special photos, the ones you’ll print large and keep forever, remember that a professional can help you create memories that go beyond what a phone can capture. Discover the photo sessions available.
Frequently Asked Questions (FAQ)
When is the best time to take photos of a newborn at home?
The ideal window is between days 6 and 15 of life, when the baby sleeps more deeply and can be positioned easily. The best time of day is after feeding, when they’re relaxed and satisfied. Don’t pressure yourself with exact dates: the baby sets the pace.
What lighting do I need for home baby photos?
You only need natural light from a large window. Place the baby near the window, with the light coming in from the side. Avoid direct flash and direct sunlight. If the light is too strong, use a thin curtain to soften it.
How to pose a newborn baby safely?
Use natural and simple poses: on their back on a blanket, in the parents’ arms, or on dad’s shoulder. Never try to replicate professional poses you see on social media, as many are Photoshop composites. Safety always comes first.
Can I take professional photos with my phone?
Yes, current phones take good quality photos. Portrait mode blurs the background and gives a more professional look. The key is having good natural light and getting close enough to the baby. Basic editing can improve the result.
What clothing and props to use for baby photos at home?
Less is more. Use neutral colors and natural materials. A single highlighted element, like a stuffed animal, is enough. Avoid loud patterns and backgrounds with many elements. If you have more questions, check the FAQs about newborn sessions at home.