“Where’s the photo from when they were so tiny?”
This is one of the questions I hear most from families who visit my studio. Those first weeks fly by so fast that before you know it, your baby no longer fits in both your hands together.
If you’re reading this, you probably have a newborn at home (or one on the way) and want to capture this fleeting phase. Maybe you’re wondering if you need to be a professional to get beautiful photos, or you’re worried about safety when posing your baby.
Good news: you don’t need to be a photographer to take newborn photos at home that move you. What you do need is patience, good light, and some practical tips.
I’ve been photographing newborns for over seven years and I’ve seen it all: babies who sleep peacefully for two hours and babies who decide that today just isn’t their day. In this guide, I share what actually works, from my experience with hundreds of families.

The first days window: when to take the photos
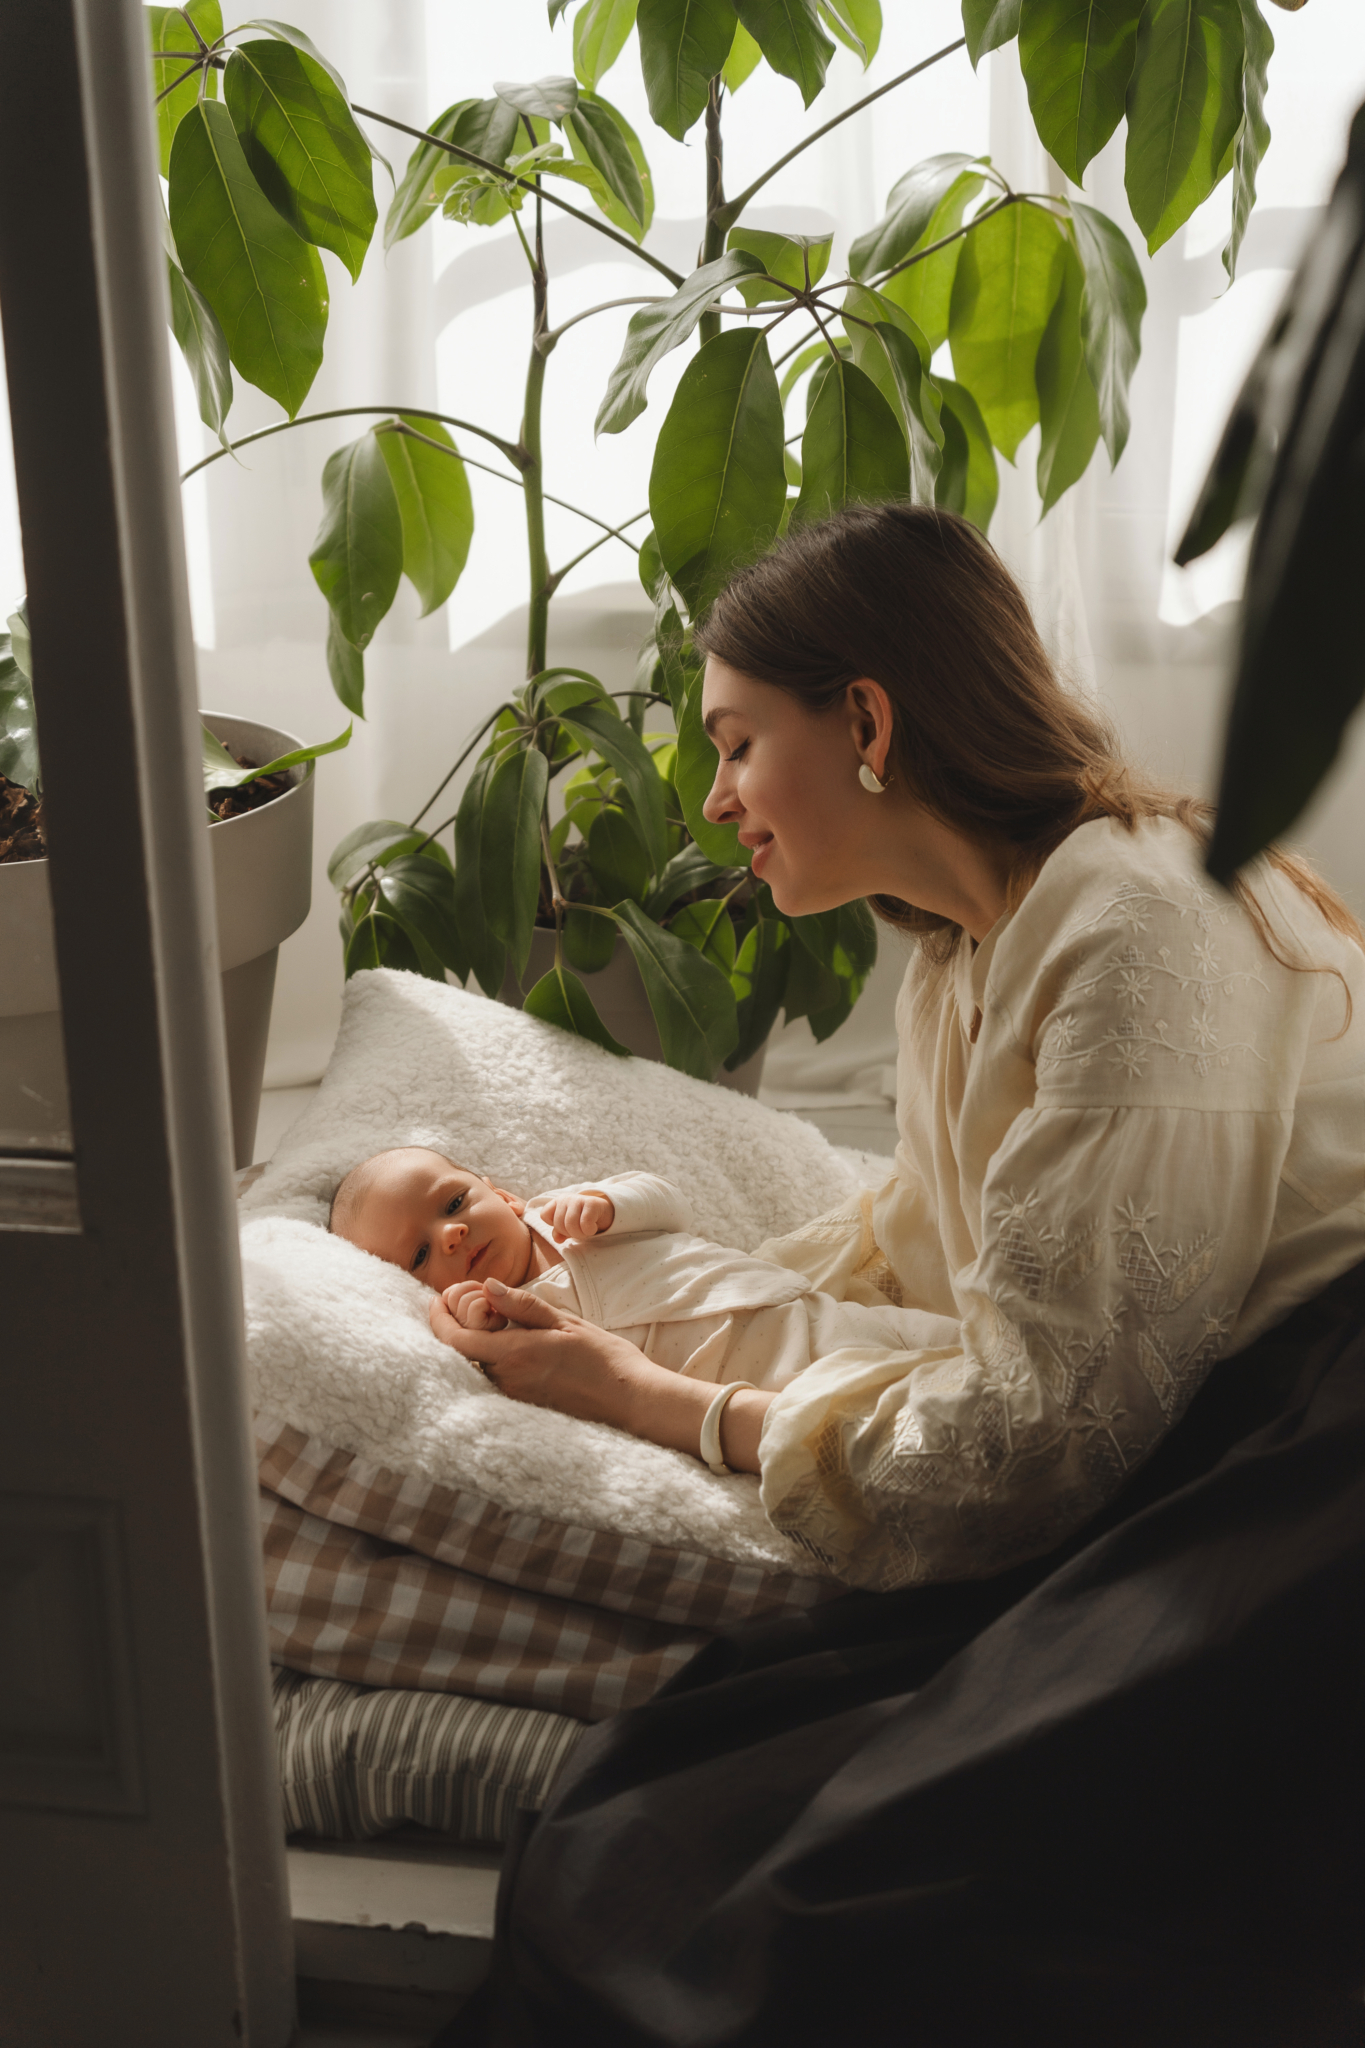
There’s something special about the first 5 to 15 days of life. Your baby still holds those natural fetal positions, sleeps more deeply, and has that flexibility that allows them to curl up like when they were in your belly.
But don’t worry if those days have already passed. Up to 6-8 weeks they’re still lovely for photos, just with a different style. A more awake baby gives you eye contact, expressions, that connection you couldn’t get when they only slept.
There’s no “too late.” Every stage has its charm.
The best time of day to take photos is after the baby has eaten and is calm. That post-feed satisfied state is perfect: relaxed, content, about to fall asleep or in that limbo between sleep and wakefulness.
A practical tip: avoid colic hours if your baby has them. This is usually in the late afternoon or evening. Morning, after the first feed of the day, is often the ideal time.
Patience and calm are normal in a session with a newborn. What I always do is check the basic needs: are they hungry? Do they want to sleep? Is their tummy hurting? If something’s off, don’t force it. There will be another moment.
Natural light: your best ally (and the cheapest)
You don’t need flashes or expensive equipment. Natural light coming through a window is enough to take newborn pictures at home that look studio-quality.
Find the window with the best light in your home. It doesn’t have to be the biggest, but the one with the most even, soft light. A north-facing window usually gives consistent light throughout the day. East or west-facing windows work well in the morning or afternoon, respectively.
The ideal hours are early morning or late afternoon. Avoid direct midday sun, which creates harsh shadows and makes babies squint.
If too much sun comes through your window, hang a thin white curtain or light sheet to diffuse the light. This “DIY curtain” acts as a professional diffuser and softens shadows.
An important tip: position the baby with light coming from the head, never from the feet. Light from above the head illuminates the face naturally and flatteringly.
And please, never use direct flash with newborns. Besides bothering them, it creates that “ID photo” effect nobody wants. The beauty of natural light in baby photography lies precisely in its softness.
Set the scene: less is more
A clean background and neutral colors make your baby the absolute star of the photo. You don’t need elaborate setups or Pinterest props.
The colors that work best are: – Off-white and cream – Beige and earth tones – Soft blue – Olive green – Mustard
Natural materials like cotton, bamboo muslin, or soft wool look lovely and are safe for baby’s skin. Avoid bold patterns that steal attention: the star is your child, not the blanket.
Where to place the baby? The options are simpler than you think: – Your own bed with white or light sheets – A basket with a soft blanket inside – The crib with a nice muslin – Directly in your arms (often the best photos)
Simplicity is elegance. A baby wrapped in a white muslin on your bed is already a beautiful photo. Don’t overcomplicate it.

That said, keep the room warm. At least 20-22°C, especially if the baby will be in just a diaper or light clothing. A cold baby won’t be comfortable, and it will show in the photos.
If you want more ideas on what to dress them in, I have a complete guide on how to dress your baby for photos.
Safety first: what to NEVER do
Those Pinterest photos that look impossible… often they are, at least without professional help.
Some poses you see on social media are composites (merged from multiple photos) or require specific training and a second adult as a “spotter” (the person holding the baby who is later edited out).
Never try at home: – The “frog pose” (baby sitting with head resting on hands) – Baby hanging from something – Baby balanced on objects – Poses where the baby appears to “float”
These poses require specific safety techniques that professional photographers learn in specialized training.
What is safe: – Baby always on a stable, soft surface – Always keep a hand nearby, or have a second adult watching – Don’t force positions: let them adopt natural poses while sleeping – Avoid small accessories or anything that could fall on the baby – Never leave the baby alone, not even for a second
Safety is non-negotiable. A nice photo isn’t worth any risk.
Poses you CAN do (and they look beautiful)
Simple, safe photos full of tenderness. You don’t need anything complicated.
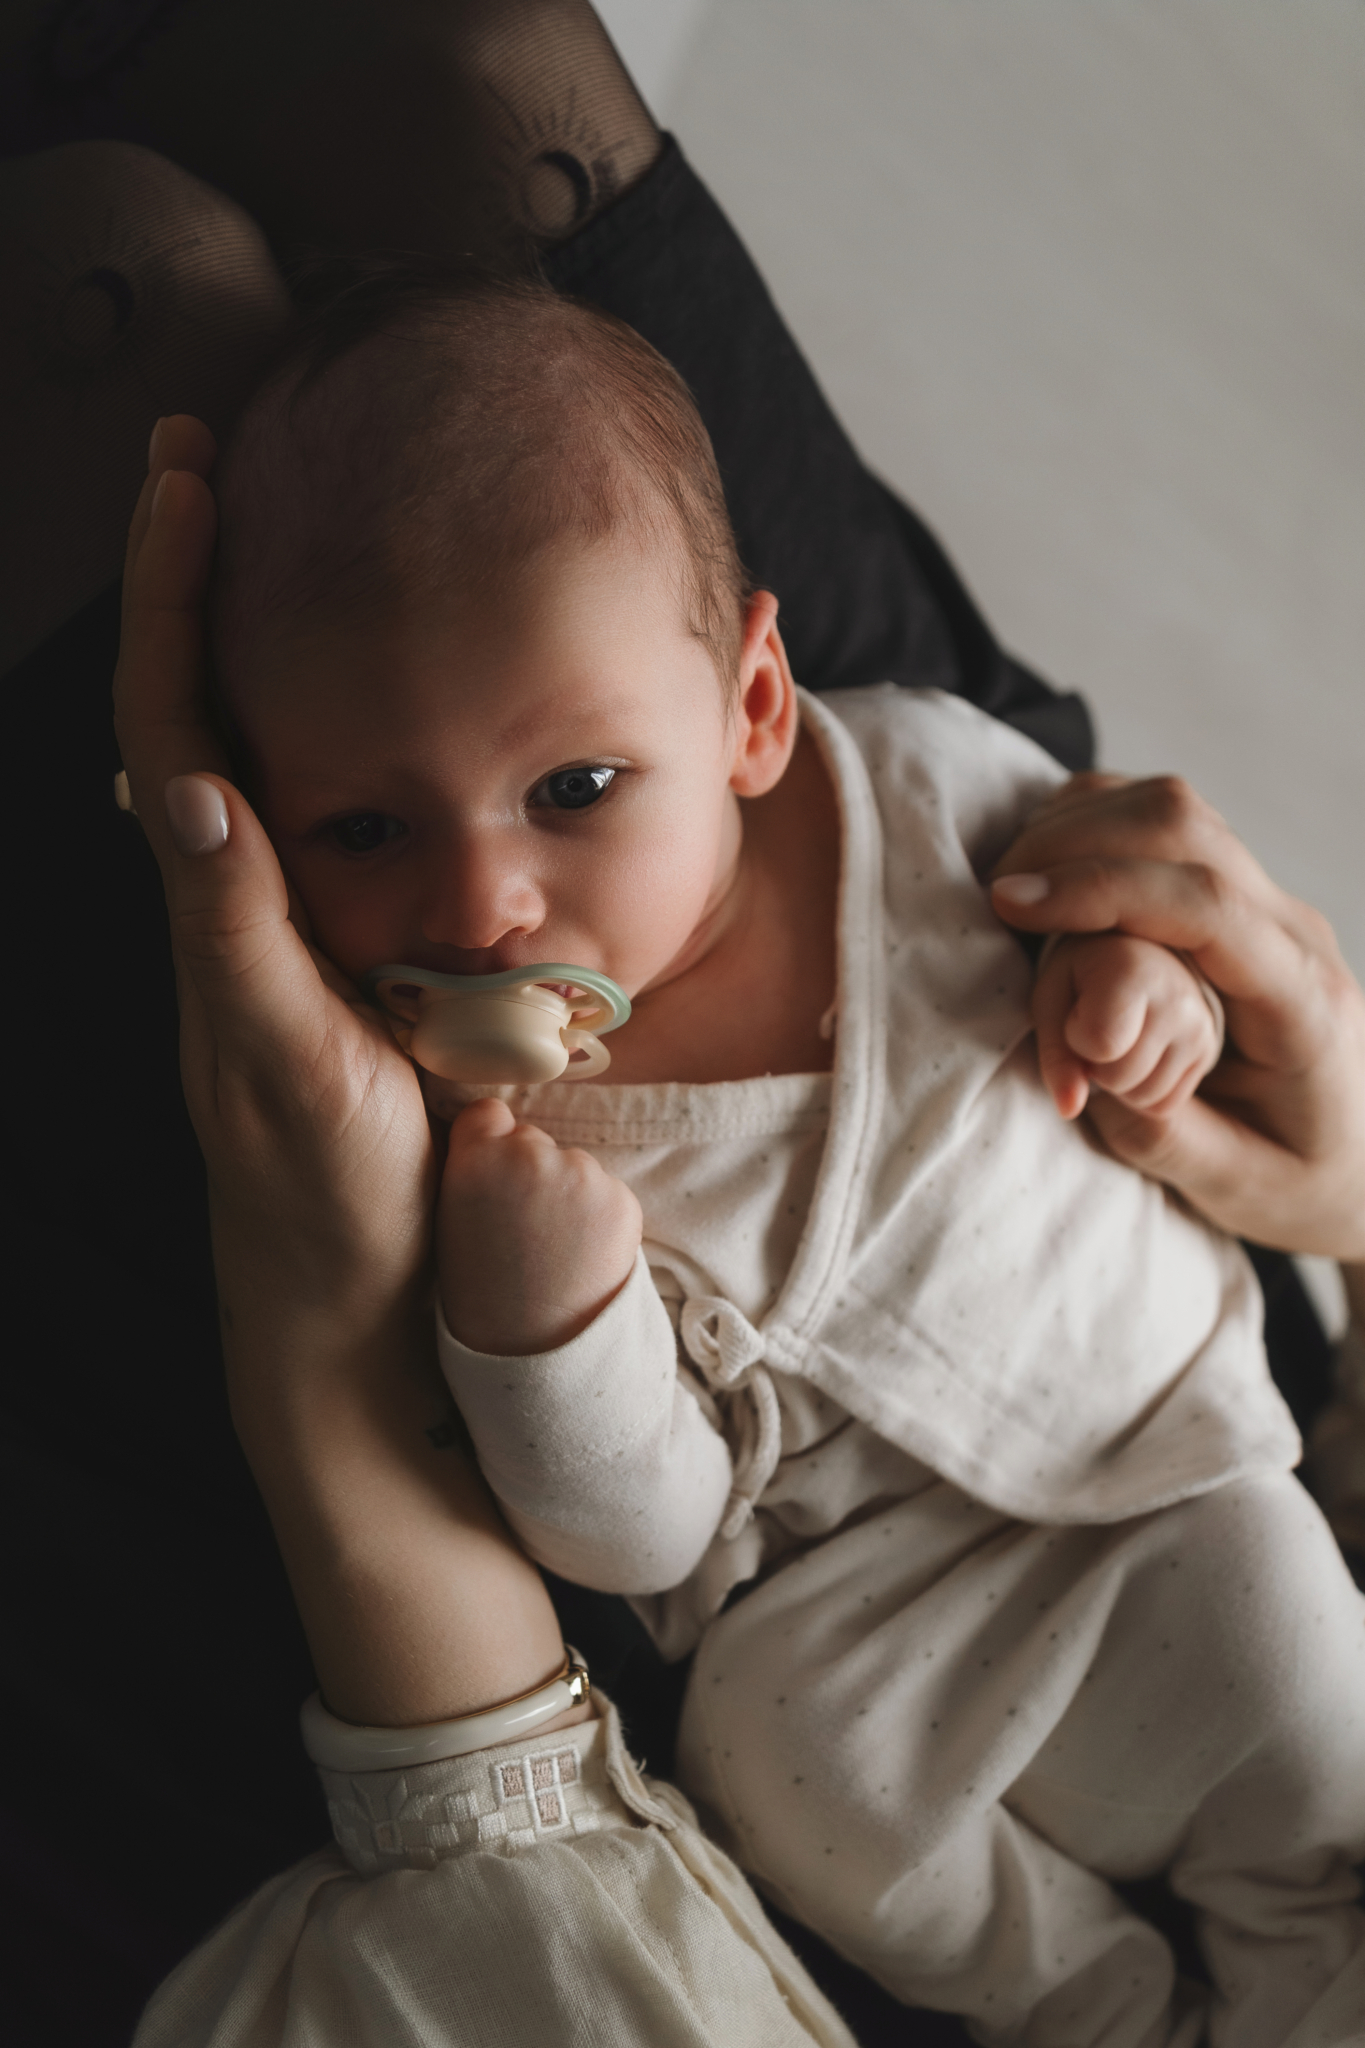
Swaddled Wrap the baby in a muslin or soft blanket, leaving their face visible. This pose is safe, cozy, and babies feel contained like in the womb. Plus, it hides the involuntary arm and leg movements that can make photos difficult.
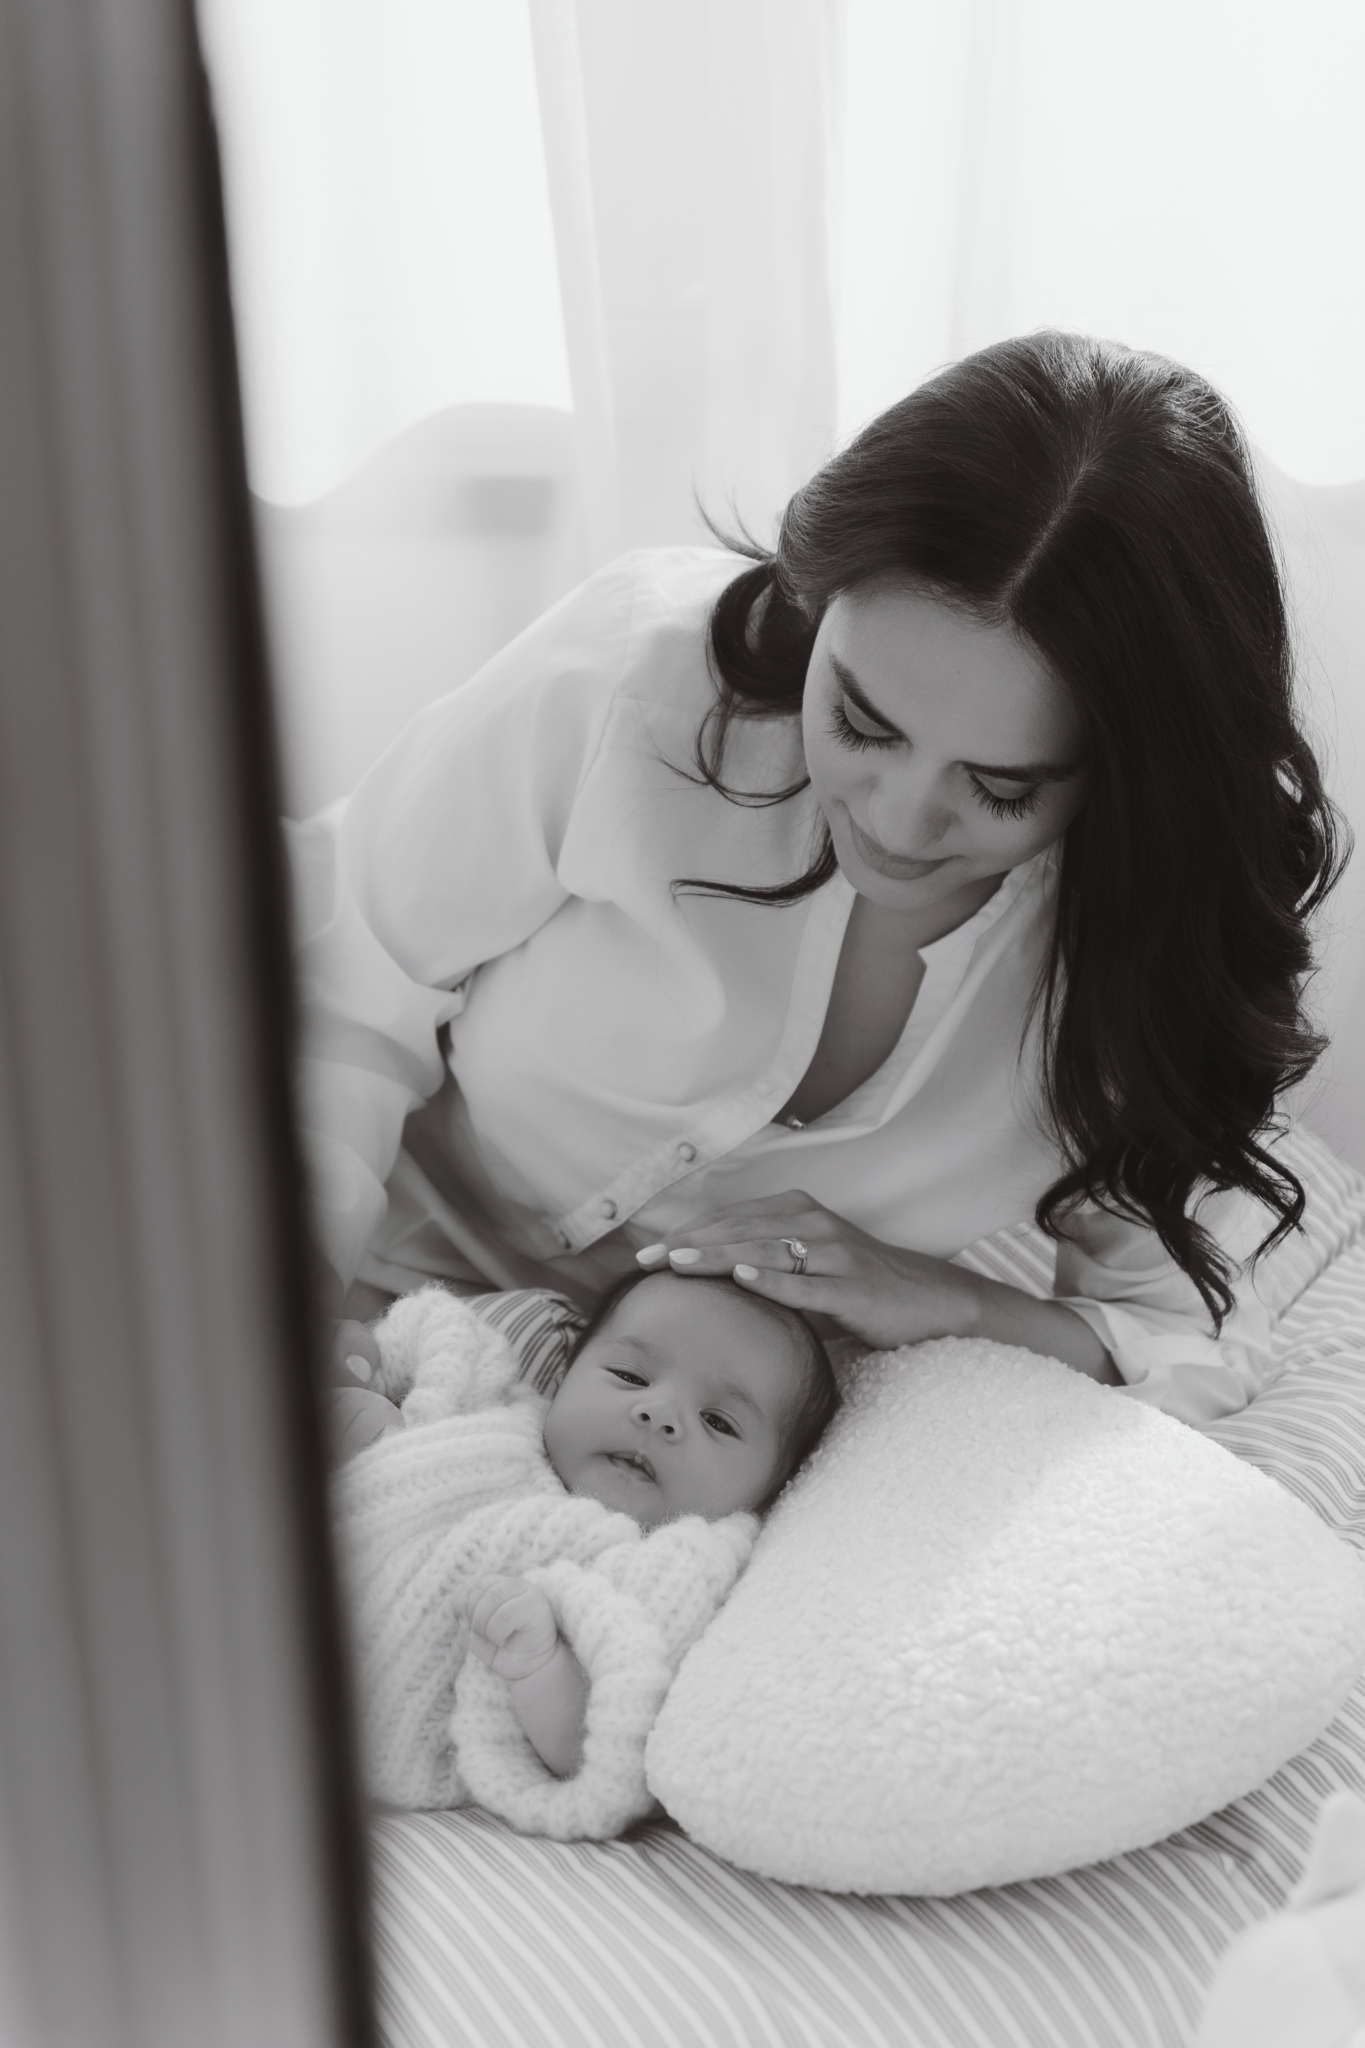
Sleeping on their back The safest and most natural pose. Baby on a soft surface, you shooting from above with your camera or phone. Works especially well to capture those closed eyes, little hands, the profile.

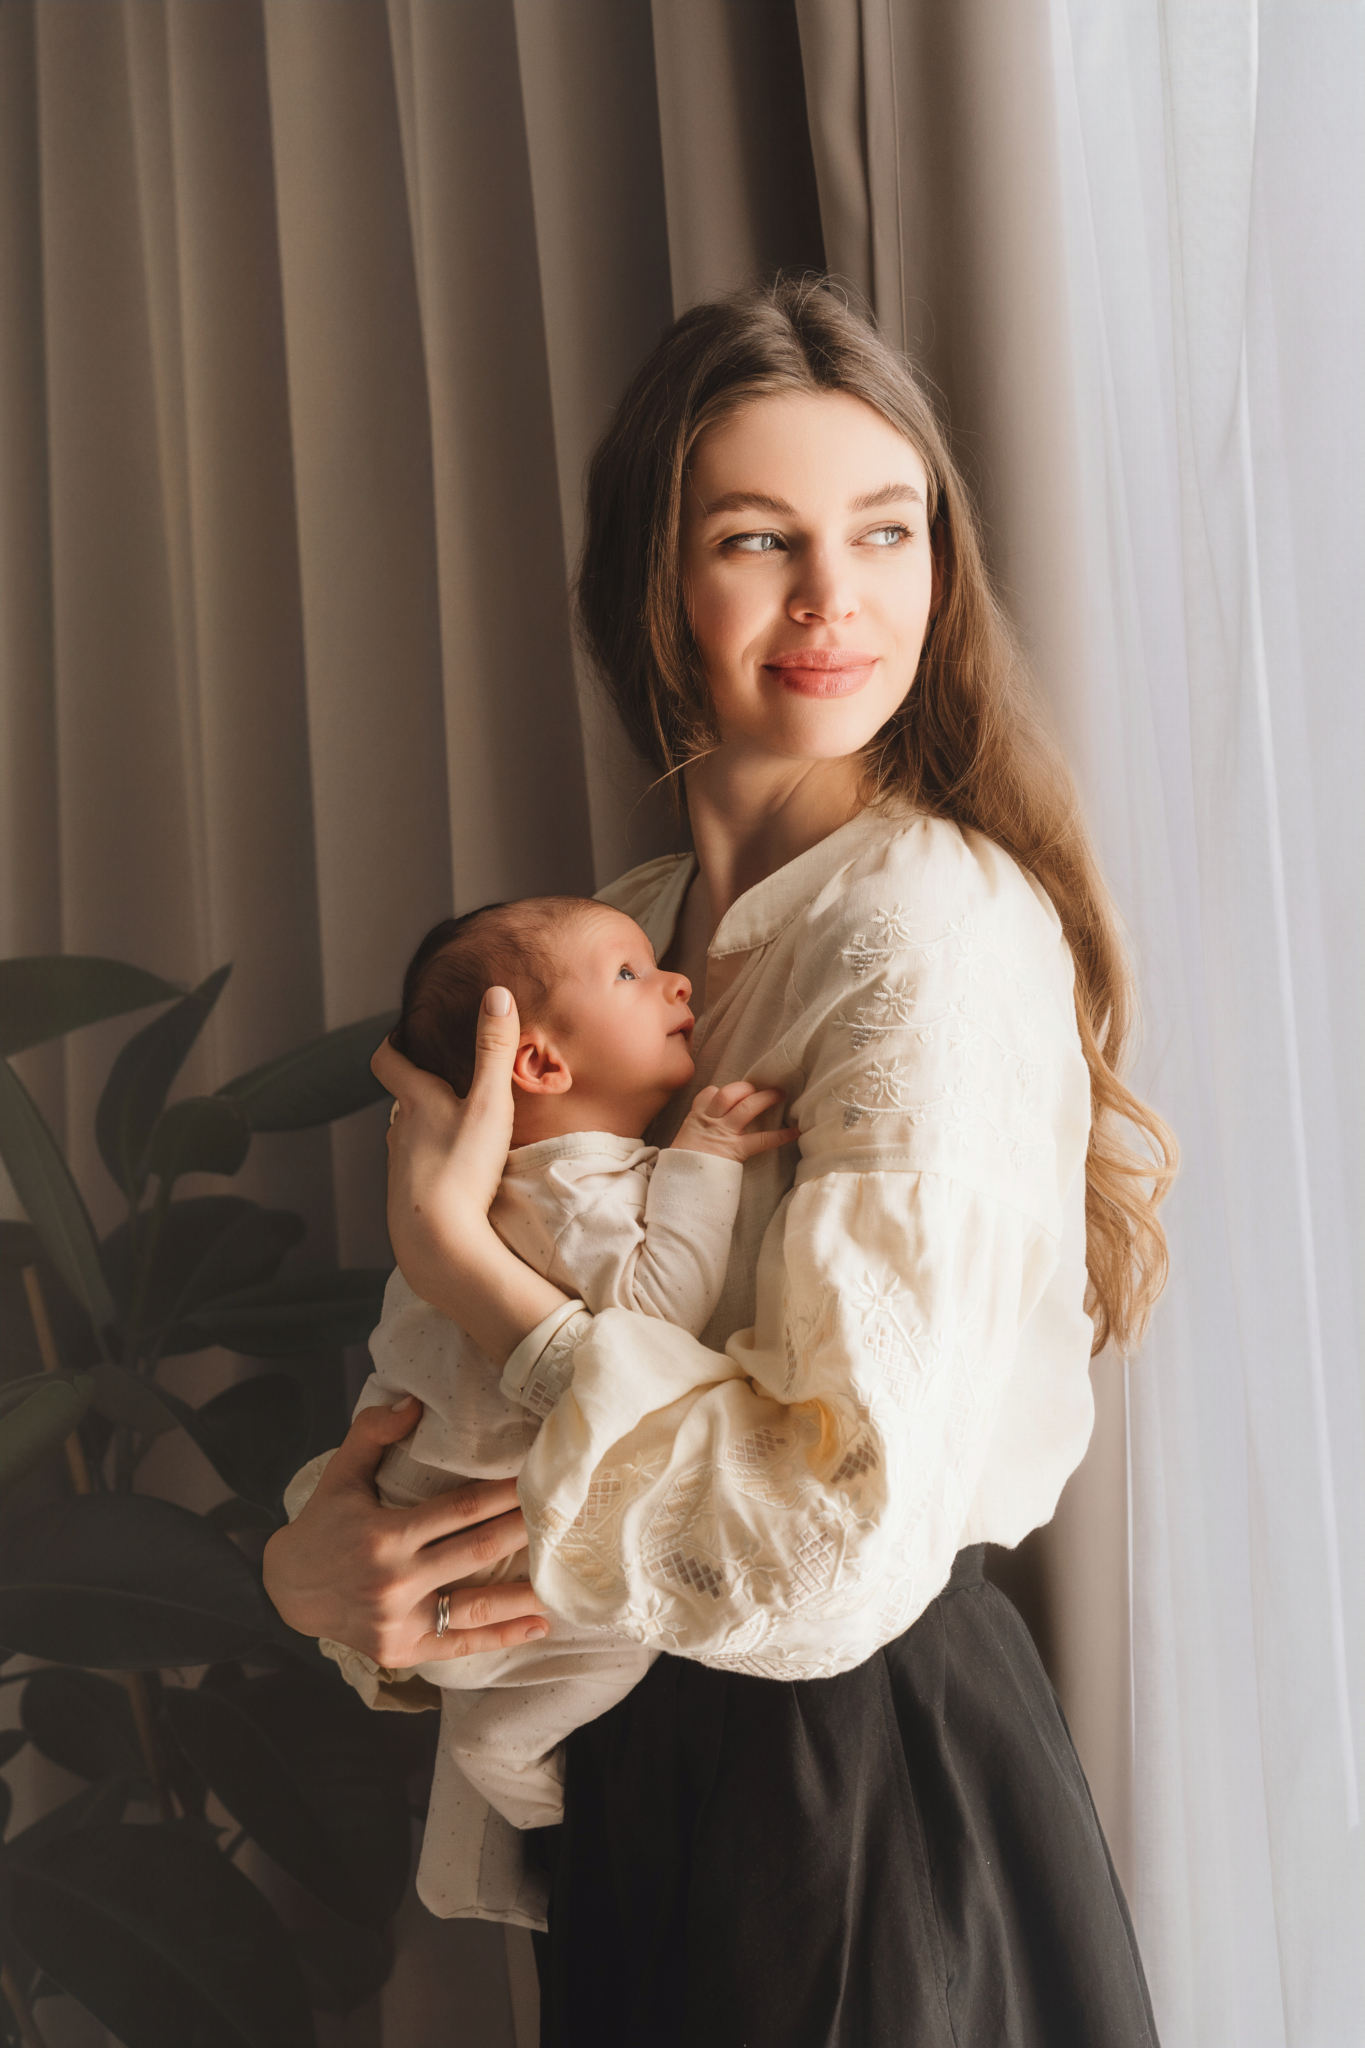
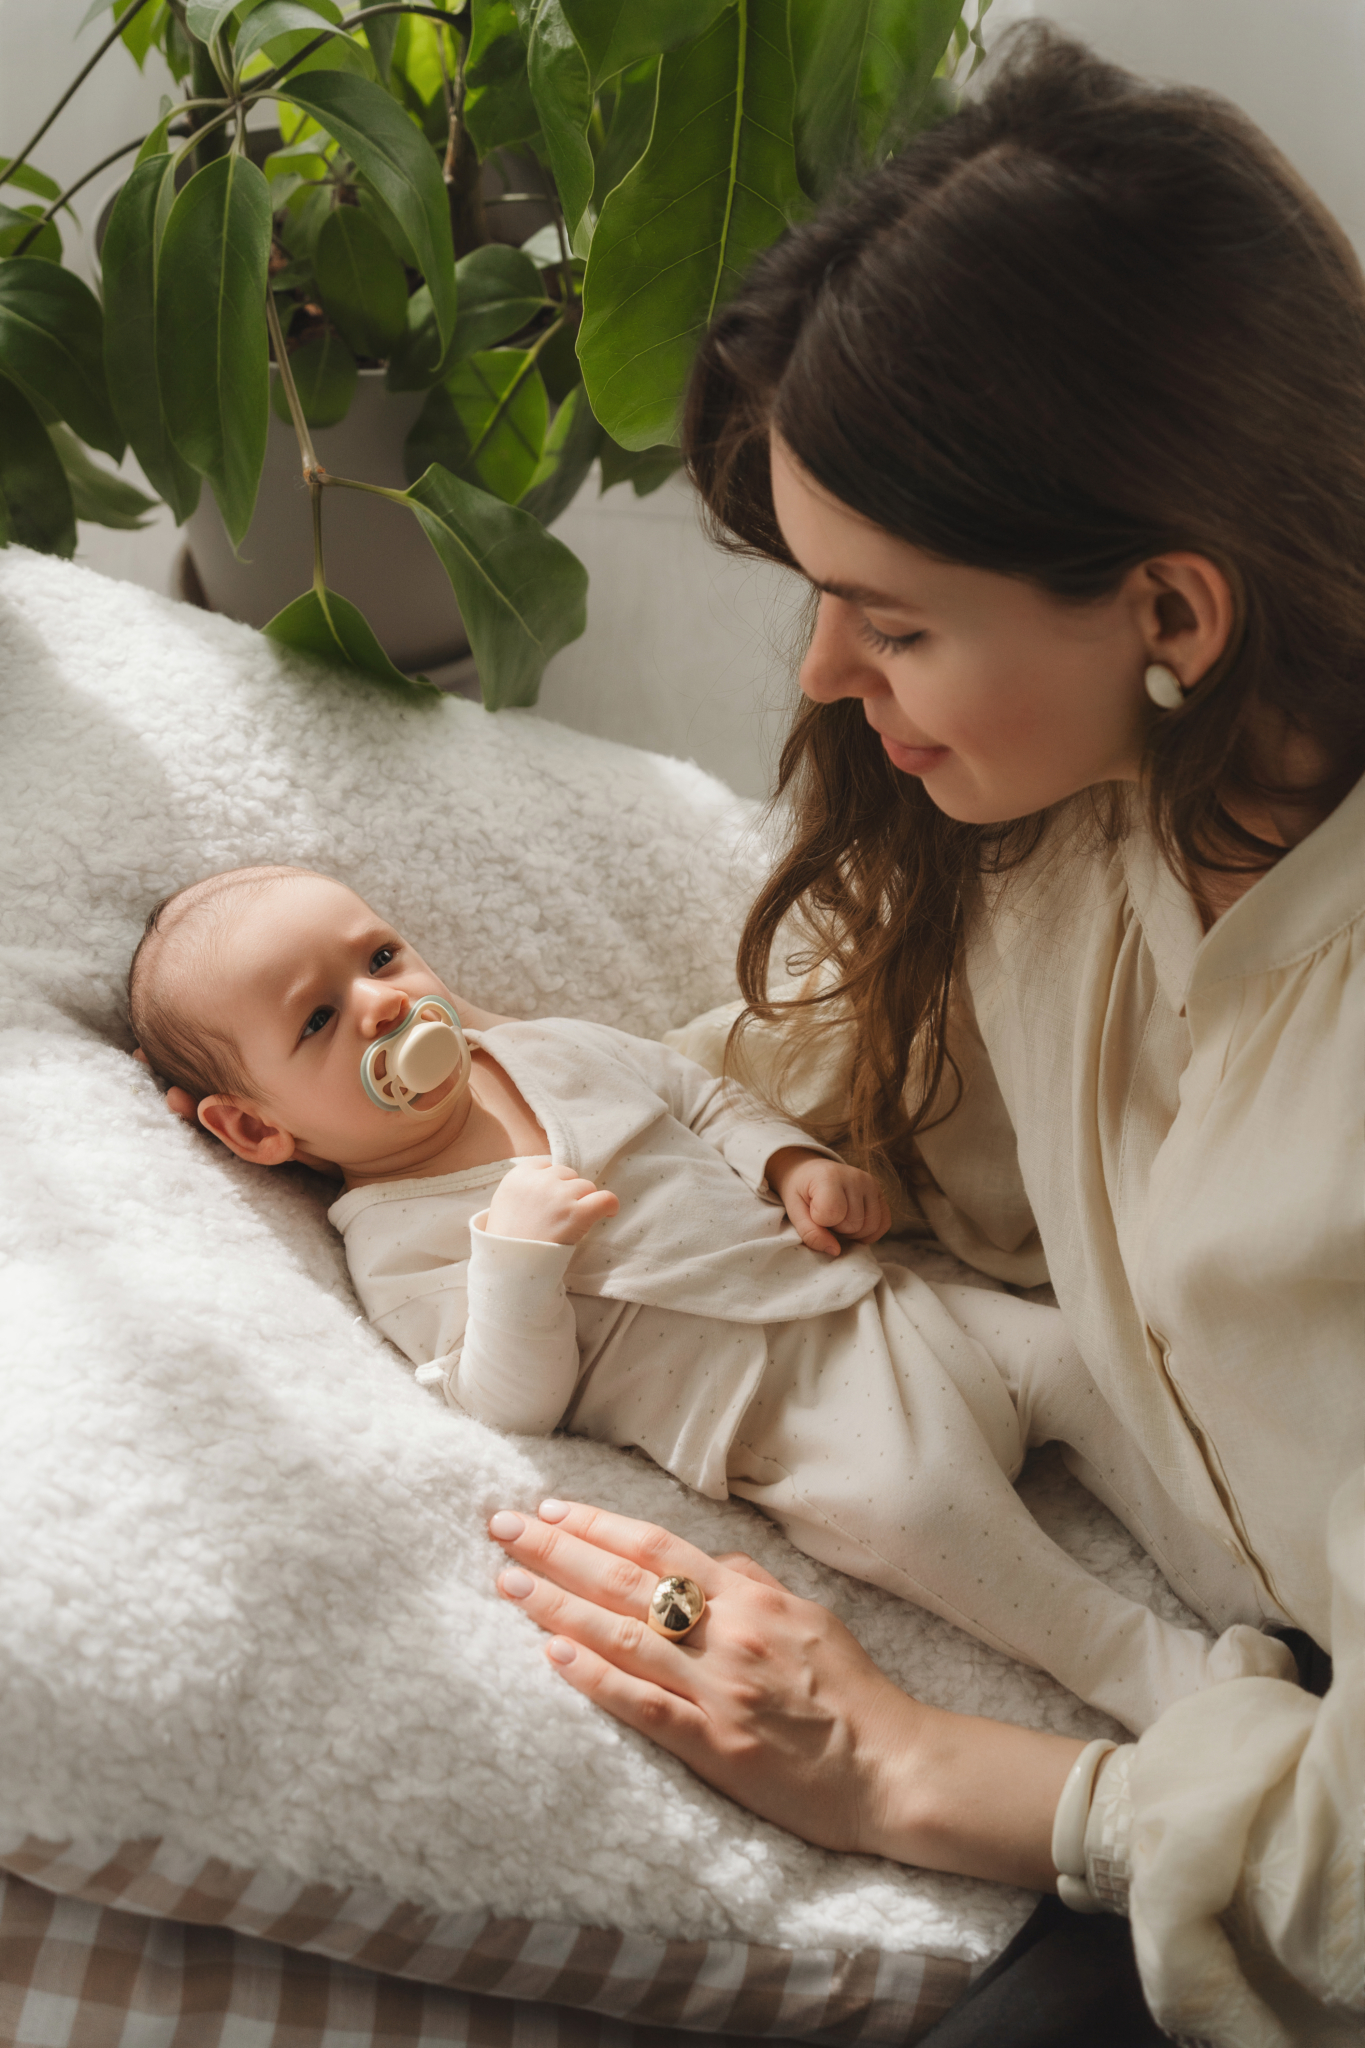
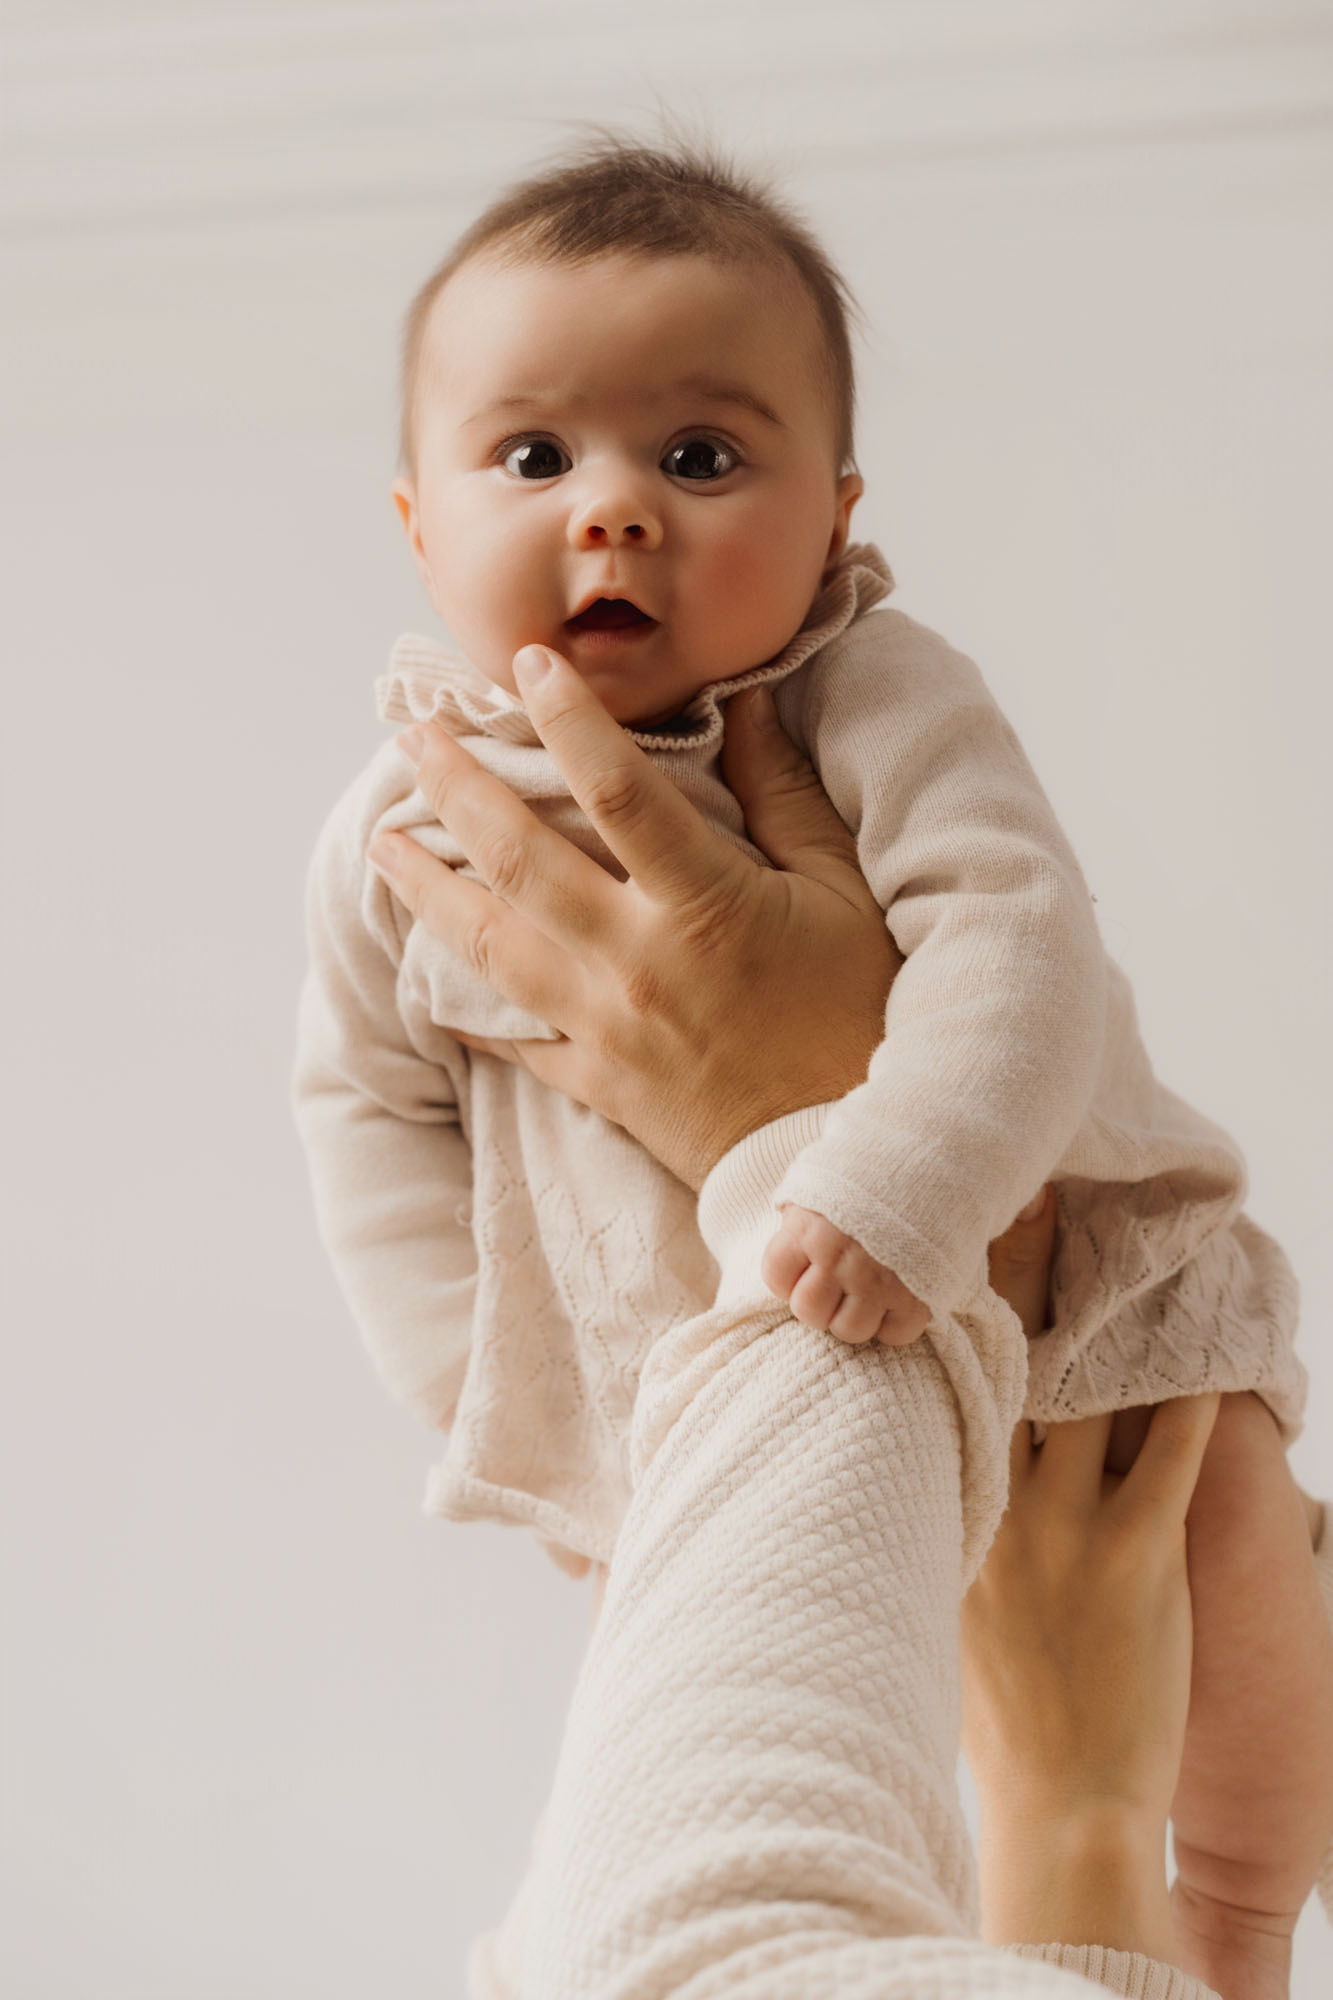
The photos with the most emotional connection. No tricks, just you holding your baby. Skin to skin, cradled, over your shoulder. I always capture the moment, I don’t focus on technique. The best photos come when there’s real emotion.
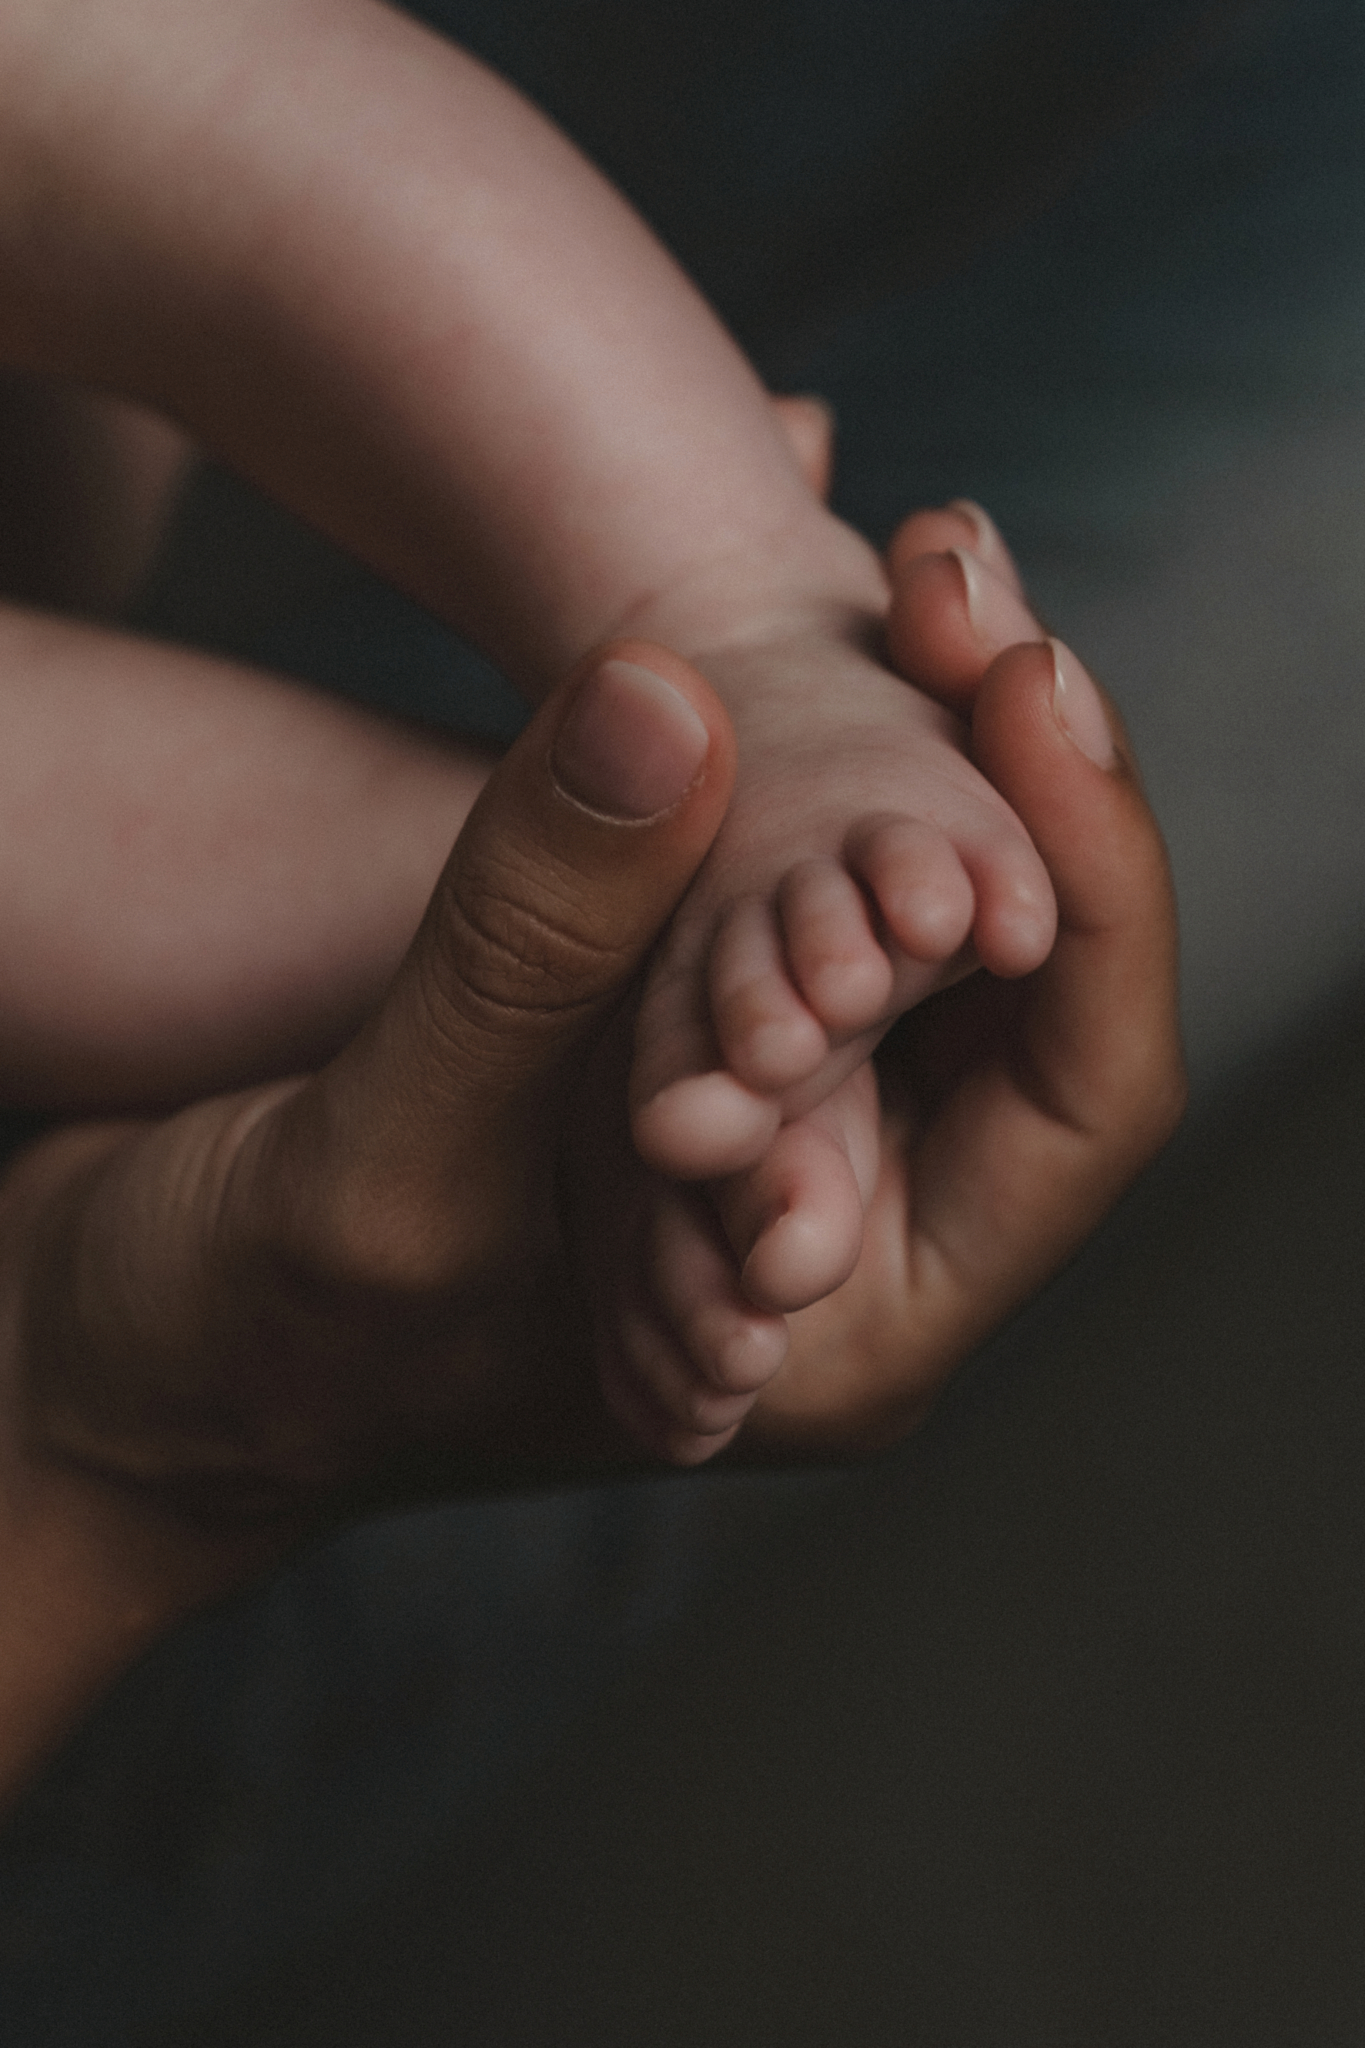
Little hands grabbing your finger, tiny feet, the profile with those long eyelashes, lips, ears. These close-ups don’t need poses and are the ones you’ll value most over time.
Breastfeeding, bath time, skin to skin, baby in the crib watching the mobile. Everyday life with a newborn is beautiful just as it is. There’s no need to stage anything.
The trick to getting calm: take photos right after feeding, when the baby is in that state of complete satisfaction.
More family photo ideas in my article about newborn photos with parents.
You belong in the photos too: don’t forget to be in them
Years from now, your child will want to see you in those first photos. They’ll want to know what you looked like when they were that small.
Ask your partner to photograph you with the baby. I know you’re probably thinking “but I look like a mess.” It doesn’t matter. You haven’t slept in days, you have dark circles, your hair is tied up any old way. And that’s exactly what your child will want to see: the reality of those first days, love without filters.
Almost every mom tells me at first: “I don’t know how to pose.” But within 10 minutes, she forgets she’s being photographed. And the best photos come out.
If you want photos of all three of you together, use a tripod (or prop your phone somewhere stable) and the timer. Most phones have a 10-second timer option, enough time to get in position.
Connection photos are the most valuable: glances, kisses, hugs. You don’t need to look at the camera. In fact, photos where you’re looking at each other are often the most beautiful.
Equipment: phone yes, camera too
You can take beautiful DIY newborn photos with whatever you have. Really.
With your phone: – Use portrait mode to get that blurred background – Clean the lens before shooting (basic but everyone forgets) – Get close to the baby, don’t use digital zoom – Use natural light, never flash
With a DSLR or mirrorless camera: – Wide apertures (f/2.8 to f/4) create that soft, dreamy effect – Use a 35mm or 50mm prime lens if you have one – Low ISO if there’s good light, to avoid noise – Always focus on the eyes
But remember: the most important thing isn’t the equipment, it’s the light and patience. A phone photo by a window with good light beats a professional camera photo with direct flash.
Patience: the secret ingredient
If the baby cries, if they won’t cooperate, if today isn’t the day… that’s okay.
Newborns have their own schedules. They don’t understand photo sessions or “five more minutes.” If it’s not the right time, stop. Don’t get frustrated. There will be another chance tomorrow, or in an hour.
Before giving up, check the basic needs: – Are they hungry? – Do they want to sleep? – Dirty diaper? – Is the room temperature right?
White noise can help calm them. There are free phone apps with hairdryer sounds, rain, or heartbeat that work well.
The best photos come when there’s calm. Yours and the baby’s. If you’re stressed, the baby can tell. Breathe, relax, enjoy the process. You’re creating memories, not meeting a deadline.
Conclusion: capture YOUR moment
Summary of the essentials for taking newborn photos at home: – Soft natural light by a window – Simple background and neutral colors – Safe and natural poses, nothing forced – Patience and love as the main ingredients
Don’t chase the perfection of photos you see on social media. Many are heavily edited or composites. Focus on capturing YOUR moment, YOUR baby, YOUR reality.
These days go by so fast. Any photo you take is a treasure. You don’t have to do it perfectly, you just have to do it.
And if you’re in Barcelona and at some point want a professional newborn session with the peace of mind that an expert is handling everything, or prefer the privacy of a self-photo studio for families where you’re in control, I’d be happy to help.
Frequently Asked Questions
What’s the best time of day to take newborn photos at home?
In the morning, when natural light is soft but sufficient. The ideal moment is after the baby has eaten and is relaxed or drowsy. Avoid colic hours (usually late afternoon or evening) and midday with direct sun.
Is it safe to do baby poses at home without being a professional?
Yes, as long as you stick to natural, safe poses: wrapped in muslin, in your arms, or sleeping on their back. Never try to replicate complex social media poses like the “frog pose” or babies balancing. Many of those photos are composites or require a second adult as a spotter.
What equipment do I need for DIY newborn photos?
A phone with a good camera is enough. What matters is natural light by a window and a simple background. Your phone’s portrait mode helps achieve that blurred background effect. Clean the lens and get close to the baby instead of using zoom.
How old should the baby be for photos?
The first 5-15 days are ideal because they sleep more deeply and hold natural fetal positions. But up to 6-8 weeks they’re still lovely, just with a different style: more awake, with more expressions and eye contact. There’s no “too late.”
How do I keep my baby calm during photos?
A warm room (at least 20°C), taking photos after feeding, white noise in the background if needed, and lots of patience. Always check basic needs: hunger, sleep, diaper, temperature. If it’s not the right time, don’t force it: there will always be another opportunity.